×
My Garage
My Account
My Cart
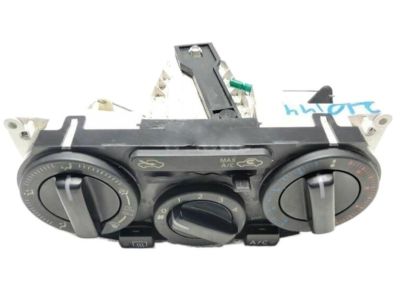
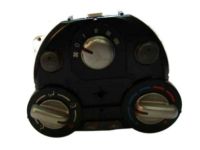
Genuine Nissan Versa A/C Switch
Air Conditioning SwitchEnter your vehicle info to find more parts and verify fitment
- Select Vehicle by VIN
- Select Vehicle by Model
Select by VIN
orEnter your VIN for the most accurate results.Enter your VIN for the most accurate results.
Select by Model
-- Select Model --
-- Select Year --
16 A/C Switches found
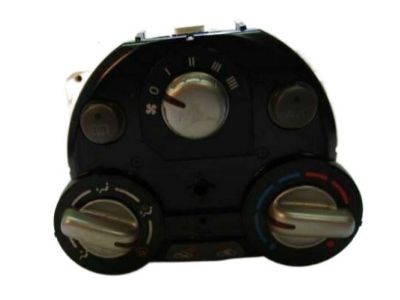
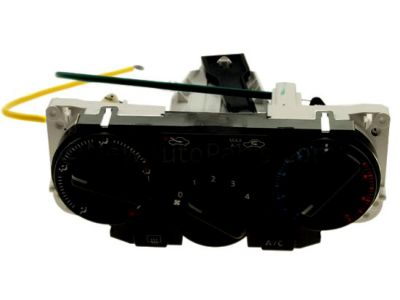
Nissan Versa Controller Assy-Air Conditiner
Part Number: 27510-3AN0A$138.68 MSRP: $191.02You Save: $52.34 (28%)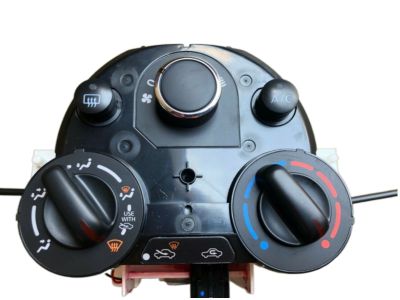
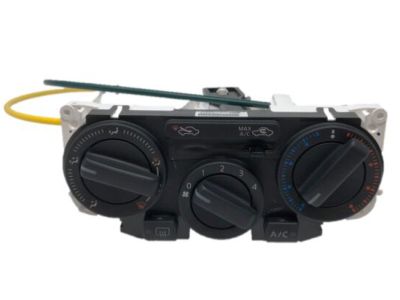

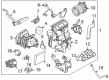
Nissan Versa Controller Assy-Air Conditiner
Part Number: 27510-9KF0A$352.88 MSRP: $470.50You Save: $117.62 (25%)

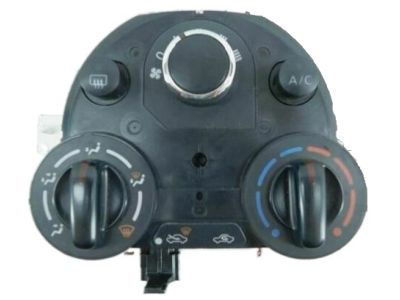
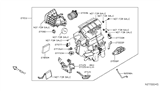
Nissan Versa Controller Assy-Air Conditiner
Part Number: 27500-5RA5A$614.20 MSRP: $825.53You Save: $211.33 (26%)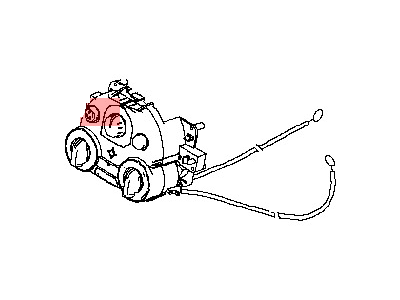
Nissan Versa Controller Assy-Air Conditiner
Part Number: 27510-3AN5A$139.44 MSRP: $192.07You Save: $52.63 (28%)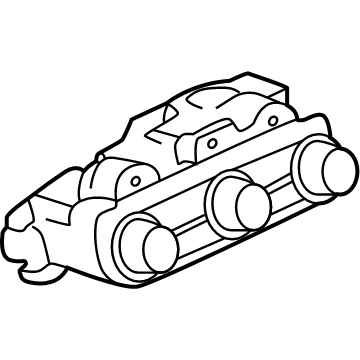
Nissan Versa Controller Assembly-Air Conditioner
Part Number: 27510-5EB5A$543.52 MSRP: $730.53You Save: $187.01 (26%)
Nissan Versa Controller Assembly-Air Conditioner,Manual
Part Number: 27510-5RL0A$562.28 MSRP: $755.75You Save: $193.47 (26%)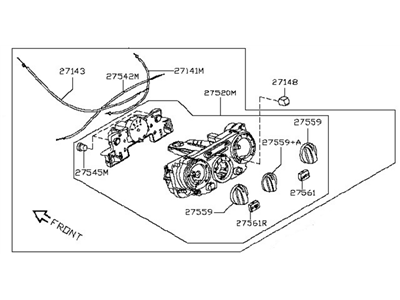
Nissan Versa Controller Assy-Air Conditiner
Part Number: 27500-5RL5A$360.08 MSRP: $480.10You Save: $120.02 (25%)Nissan Versa Controller Assy-Air Conditiner
Part Number: 27510-9KF0B$352.75 MSRP: $470.33You Save: $117.58 (25%)
Nissan Versa A/C Switch Parts Questions & Answers
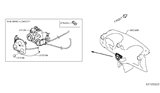
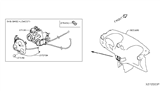
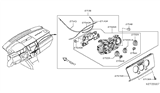
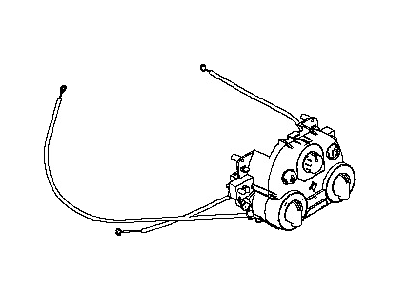
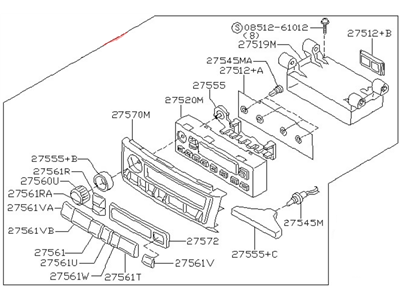
- Q: How to remove and install the heating and air conditioning control assembly in a Nissan Versa?A: Disconnect the cable from the negative terminal of the battery. For 2011 and earlier models, remove the lower A/C Switch trim panel. Remove the center panel on the dash and the center dash cluster. Remove the intake door level knob. Remove the lower screws and undo the upper clips to remove the front panel. Remove the mounting screws from the A/C switch and pull out the assembly. Remove the instrument panel upper pad and finisher panels. On 2009 through 2011 models, remove the glove box. Disconnect the heating and air conditioning control cables from the air conditioning unit. Pry out the air mix door adjustment cable from the clamp, unhook the cable loop from the air conditioning unit and remove the cable. Pry out the air mode door adjustment cable from the clamp, unhook the cable loop from the air conditioning unit and remove the cable. Pry out the intake door adjustment cable from the clamp, unhook the cable loop from the air conditioning unit and remove the cable. Disconnect the electrical connector and remove the A/C Switch. Installation is the reverse of removal. During installation of the A/C switch assembly, the intake, air mix, and mode door cables should be adjusted to ensure they function properly. For 2012 and later models, remove the heating and air conditioning control panel trim. Remove the air mix door adjustment cable. Remove the air mode door adjustment cable. Remove the intake door adjustment cable. Remove the control unit mounting screws. Remove the heating and air conditioning control unit. Installation is the reverse of removal. During installation of the A/C switch assembly, the intake, air mix, and mode door cables should be adjusted to ensure they function properly. Reconnect the battery and perform the necessary re-learn procedures.
Related Nissan Versa Parts
 Nissan Versa Blower Motor Resistor
 Nissan Versa Blower Motor
 Nissan Versa Evaporator
 Nissan Versa A/C Idler Pulley
 Nissan Versa A/C Compressor
 Nissan Versa A/C Condenser Fan
 Nissan Versa A/C Clutch
 Nissan Versa A/C Accumulator
 Nissan Versa A/C Expansion Valve
 Nissan Versa A/C Hose
 Nissan Versa Blend Door Actuator