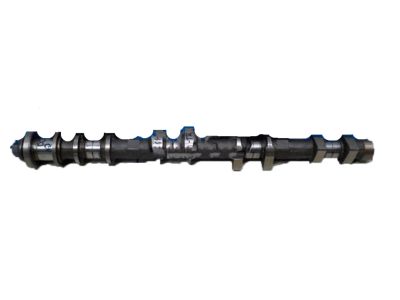
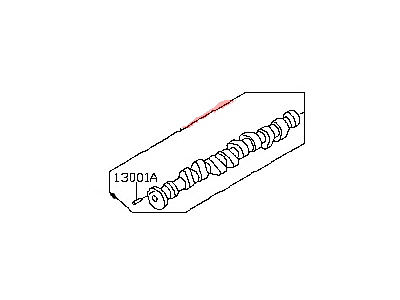
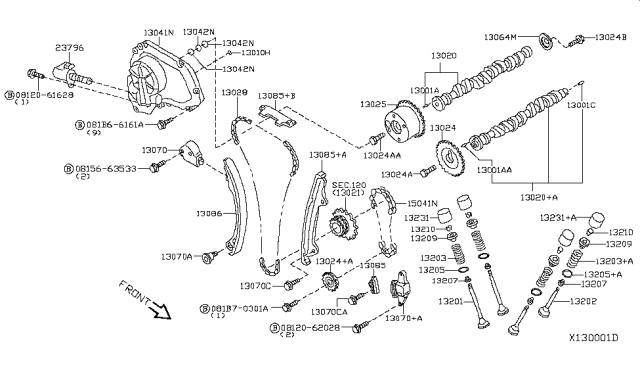
To remove the components, first disconnect the cable from the negative terminal of the battery and then remove the valve cover. For 2013 and earlier models or 2014 and later Rogue Select models, take off the intake manifold. Check the valve clearances and record the measurements; if any valves are out of specification, correct them before reinstalling the camshafts. Disconnect the electrical connectors from the Valve Timing control solenoid(s) and the Camshaft Position sensor(s). Remove the camshaft sprocket cover bolts in reverse order of tightening and take off the cover, using a sharp tool to cut the RTV sealant. Remove the Camshaft Position sensor(s) and bracket, noting the differences in sensor types between models. Loosen the right front wheel lug nuts, raise the vehicle securely on jackstands, and remove the right front wheel. Take off the inner fender splash shield. Position the engine at TDC on the compression stroke for the number one cylinder and mark the timing chain links corresponding to the timing marks on the camshaft sprockets, ensuring not to turn the camshaft(s) or crankshaft afterward to avoid valve damage. Retract the plunger of the chain tensioner with a screwdriver, secure it with a drill bit or Allen wrench, and remove the tensioner through the camshaft sprocket cover opening. Hold the hexagon part of the camshaft with a wrench and remove the camshaft sprocket bolts, then take off the sprockets without maintaining tension on the timing chain. Remove the upper timing chain guide through the timing chain cover. Before removing the camshafts, check camshaft endplay using a dial indicator; if the endplay exceeds the limit, replace the camshaft or cylinder head. Loosen the camshaft bearing caps in reverse order of tightening, keeping the caps in order for reinstallation, then remove the bearing caps or bridge and lift the camshafts straight up and out. Pull the Lash Adjusters straight up and store them in numbered plastic bags or a marked box. For inspection, visually examine the camshaft lobes, journals, bearing caps, and Lash Adjusters for any signs of wear or damage. Measure the camshaft journal diameter and lobe height with a micrometer, replacing the camshaft if any lobe height is below the minimum. Check the oil clearance for each camshaft journal by cleaning the bearing caps and journals, laying the camshafts in place without lubrication, placing a strip of Plastigage on each journal, installing the bearing caps, and tightening the bolts in sequence. After removing the bolts and bearing caps, compare the width of the crushed Plastigage to the scale on the envelope to determine oil clearance, replacing the camshaft or cylinder head if the clearance is greater than specified. Scrape off the Plastigage carefully to avoid scratching the journals or bearing caps. For installation, apply moly-based engine assembly lubricant to the camshaft lobes and journals, then install the camshafts in their original positions at TDC, ensuring the dowel pins are correctly oriented. Apply a 1/8-inch bead of RTV sealant to the timing chain cover mating surface, install the bearing caps and bolts, and tighten them in sequence. Install the camshaft sprockets and timing chain, aligning the marks made earlier with the timing marks on the sprockets. Complete the installation in reverse order of removal, checking and adjusting the valve clearance if any part of the valve train was replaced, and finally reconnect the battery and perform the necessary re-learn procedures.
Posted by NissanPartsDeal Specialist 


