×
My Garage
My Account
My Cart
Genuine Nissan Quest Radiator fan
Radiator Cooling FanEnter your vehicle info to find more parts and verify fitment
- Select Vehicle by VIN
- Select Vehicle by Model
Select by VIN
orEnter your VIN for the most accurate results.Enter your VIN for the most accurate results.
Select by Model
-- Select Model --
-- Select Year --
15 Radiator fans found
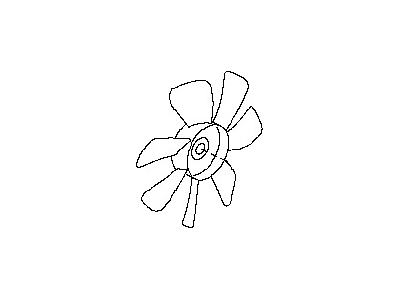
Nissan Quest Fan Assembly-Radiator Cooling
Part Number: 21486-JK60A$61.03 MSRP: $82.70You Save: $21.67 (27%)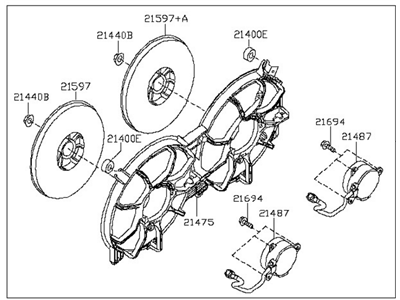
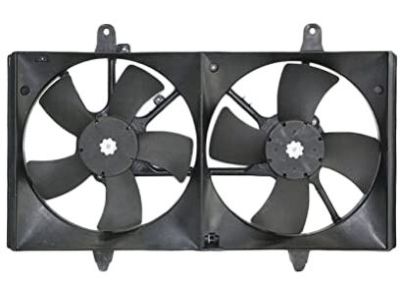
Nissan Quest Motor & Fan Assy-With Shroud
Part Number: 21481-1AA0A$440.88 MSRP: $675.92You Save: $235.04 (35%)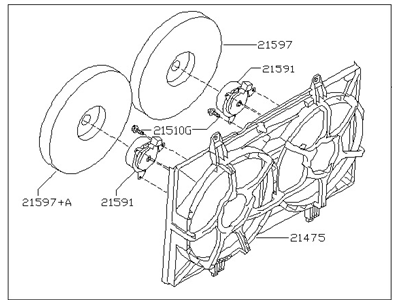
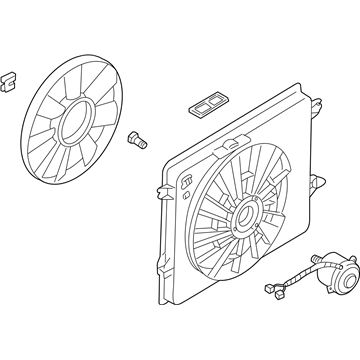
Nissan Quest Motor Assy-Fan & Shroud
Part Number: 21481-5Z00A$197.06 MSRP: $299.75You Save: $102.69 (35%)Nissan Quest Motor Assy-Fan & Shroud
Part Number: 21481-5Z000$217.62 MSRP: $299.75You Save: $82.13 (28%)
Nissan Quest Fan Assembly-Radiator Cooling
Part Number: 21486-JG30A$72.56 MSRP: $98.32You Save: $25.76 (27%)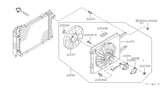
Nissan Quest Motor Assy-Fan & Shroud
Part Number: 21481-0B000$280.99 MSRP: $469.96You Save: $188.97 (41%)Nissan Quest Motor Assembly Fan & SHROUD
Part Number: 21481-1B000$377.95 MSRP: $632.11You Save: $254.16 (41%)Nissan Quest Motor Assy-Fan & Shroud
Part Number: 21481-0B010$484.24 MSRP: $710.04You Save: $225.80 (32%)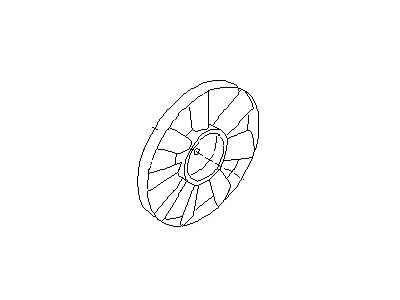

Nissan Quest Radiator fan Parts Questions & Answers
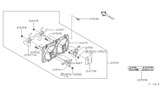
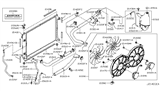
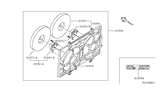
- Q: How to replace the electric fan in a Nissan Quest?A: All models have a two-speed electric fan mounted in a plastic shroud attached to the back of the Radiator. Fan operation is controlled both by the PCM and the high and low-speed fan relays. The Coolant Temperature Sensor signals the PCM of engine temperature, and the PCM turns on the appropriate relay(s). At warm idle, the low-speed relay turns the fan on at low speed. When the coolant temperature reaches 221 degrees F, the PCM turns the high-speed relays 1 and 2 on, causing the fan to run at high speed. There are two high-speed relays to ensure proper cooling even if one relay fails, and they will also operate if the coolant temperature sensor fails. If the fan operates continuously, the fault could be the coolant temperature sensor or the relays. Warm the engine up until the gauge on the instrument panel indicates the high side of NORMAL. The fan should come on. If not, check the RAD FAN fuse in the center engine compartment fuse panel and the ALY COIL fuse in the interior fuse panel. If the fuses checked OK, disconnect the electrical connector from the radiator fan motor. Attach a fused jumper wire with battery voltage to either of the two power terminals on the fan, and a chassis-ground jumper to the black wire terminal on the fan. If the fan doesn't operate, it should be replaced. If it does operate with jumper wires, but doesn't under normal driving conditions, connect a voltmeter to a chassis ground and probe the power terminals of the fan connector on the harness side. If the engine is hot and the temperature gauge shows above NORMAL, there should be battery voltage at one of these terminals. Check the ground of the circuit by switching your meter to the ohms scale. Ground one side of the meter and probe the other side at the black wire terminal of the fan connector. Resistance should be no more than 5 ohms. If resistance is high, trace the ground wire circuit to the chassis. If there had been no power at the terminals, check that power is being supplied to the low-speed fan relay. One of its sockets on the relay panel should exhibit battery voltage at all times, and one only when the key is in the On or Start position. Replacement: Disconnect the electrical connector from the fan motor. Disconnect the upper radiator hose and overflow hose at the radiator. Remove the two fan shroud bolts and remove the fan/shroud assembly. Note: The bottom of the fan shroud fits into tabs on the radiator. Remove the small clip retaining the fan to the motor shaft. Remove the screws retaining the motor to the shroud. With an assistant retaining the fan, hit the shaft of the motor with a hammer and blunt punch to separate the fan from the motor. Installation is the reverse of removal.
Related Nissan Quest Parts
 Nissan Quest Cooling Hose
 Nissan Quest Water Pump
 Nissan Quest Thermostat
 Nissan Quest Radiator
 Nissan Quest Water Pump Gasket
 Nissan Quest Thermostat Housing
 Nissan Quest Radiator Hose
 Nissan Quest Coolant Reservoir
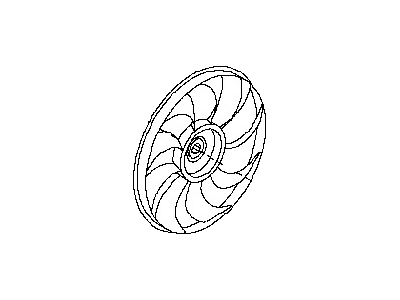
 Nissan Quest Fan Blade
 Nissan Quest Fan Shroud
 Nissan Quest Fan Motor
 Nissan Quest Radiator Support
Browse by Year
2017 Radiator fan 2016 Radiator fan 2015 Radiator fan 2014 Radiator fan 2013 Radiator fan 2012 Radiator fan 2011 Radiator fan 2010 Radiator fan 2009 Radiator fan 2008 Radiator fan 2007 Radiator fan 2006 Radiator fan 2005 Radiator fan 2004 Radiator fan 2003 Radiator fan 2002 Radiator fan 2001 Radiator fan 2000 Radiator fan 1999 Radiator fan 1998 Radiator fan 1997 Radiator fan 1996 Radiator fan 1995 Radiator fan 1994 Radiator fan 1993 Radiator fan