×
- Hello
- Login or Register
- Quick Links
- Live Chat
- Track Order
- Parts Availability
- RMA
- Help Center
- Contact Us
- Shop for
- Nissan Parts
- Nissan Accessories

My Garage
My Account
Cart
Genuine 2004 Nissan Xterra Exhaust Manifold
Engine Exhaust Manifold- Select Vehicle by Model
- Select Vehicle by VIN
Select Vehicle by Model
orMake
Model
Year
Select Vehicle by VIN
For the most accurate results, select vehicle by your VIN (Vehicle Identification Number).
9 Exhaust Manifolds found
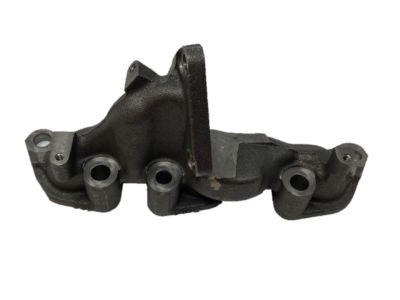
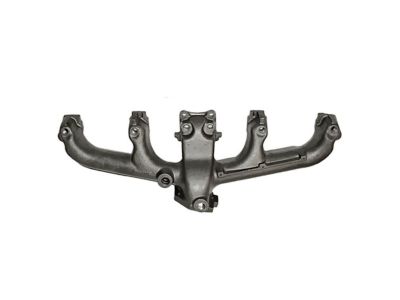
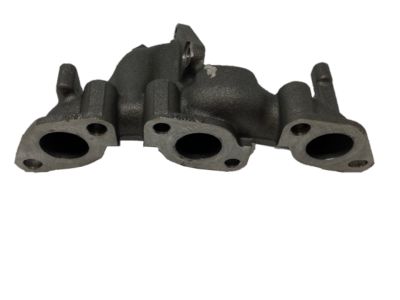
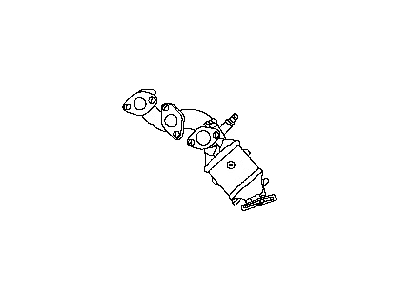
2004 Nissan Xterra Exhaust Manifold
Part Number: 14004-4S103$218.98 MSRP: $309.30You Save: $90.32 (30%)Ships in 1-2 Business DaysProduct Specifications- Other Name: Manifold - Exhaust
- Position: Passenger Side
- Replaces: 14004-4S102
- Lookup Code: 14004
- Item Weight: 6.80 Pounds
- Item Dimensions: 13.8 x 8.2 x 8.1 inches
- Condition: New
- Fitment Type: Direct Replacement
- SKU: 14004-4S103
- Warranty: This genuine part is guaranteed by Nissan's factory warranty.
2004 Nissan Xterra Exhaust Manifold
Part Number: 14002-9S200$1390.18 MSRP: $1676.67You Save: $286.49 (18%)Ships in 1-3 Business DaysProduct Specifications- Other Name: Manifold - Exhaust
- Position: Passenger Side
- Lookup Code: 14004
- Item Weight: 8.60 Pounds
- Item Dimensions: 17.3 x 15.3 x 13.8 inches
- Condition: New
- Fitment Type: Direct Replacement
- SKU: 14002-9S200
- Warranty: This genuine part is guaranteed by Nissan's factory warranty.
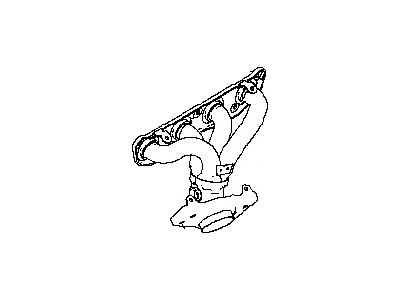
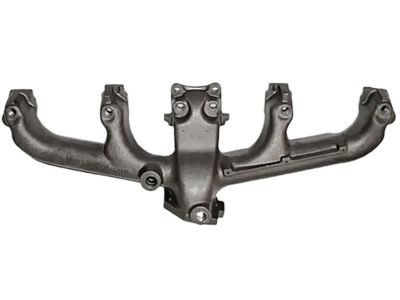
2004 Nissan Xterra Exhaust Manifold Assembly
Part Number: 14002-EK810$1071.43 MSRP: $1505.90You Save: $434.47 (29%)Ships in 1-3 Business DaysProduct Specifications- Other Name: Manifold Assembly - Exhaust
- Position: Driver Side
- Lookup Code: 14002
- Item Weight: 15.20 Pounds
- Item Dimensions: 16.3 x 15.1 x 13.1 inches
- Condition: New
- Fitment Type: Direct Replacement
- SKU: 14002-EK810
- Warranty: This genuine part is guaranteed by Nissan's factory warranty.
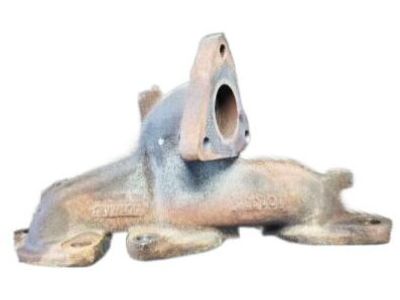
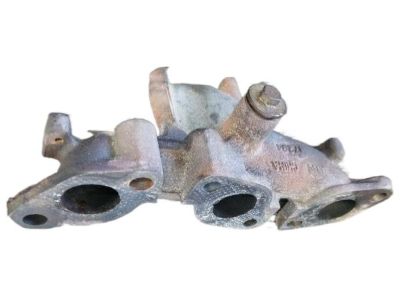
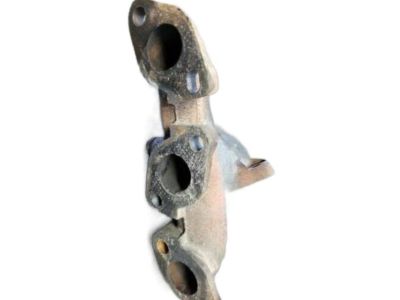
2004 Nissan Xterra Exhaust Manifold Assembly
Part Number: 14006-5S600$187.75 MSRP: $265.18You Save: $77.43 (30%)Product Specifications- Other Name: Manifold Assy-Exhaust; Exhaust Manifold
- Position: Driver Side
- Lookup Code: 14002
- Item Weight: 7.30 Pounds
- Item Dimensions: 13.8 x 8.0 x 8.1 inches
- Condition: New
- Fitment Type: Direct Replacement
- SKU: 14006-5S600
- Warranty: This genuine part is guaranteed by Nissan's factory warranty.
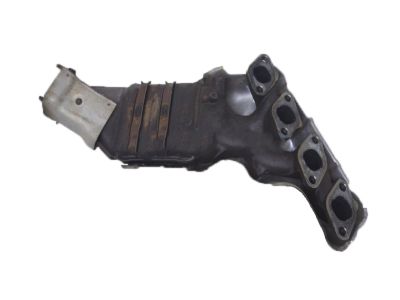
2004 Nissan Xterra Exhaust Manifold With Catalytic Converter Passenger Side
Part Number: 14002-3S600$1259.73 MSRP: $1518.74You Save: $259.01 (18%)Product Specifications- Other Name: Manifold Exhaust W/Catalyst ; Manifold Assy-Exhaust; Exhaust Manifold, Manifold
- Position: Driver Side
- Lookup Code: 14002
- Item Weight: 26.40 Pounds
- Item Dimensions: 30.9 x 17.2 x 7.4 inches
- Condition: New
- Fitment Type: Direct Replacement
- SKU: 14002-3S600
- Warranty: This genuine part is guaranteed by Nissan's factory warranty.
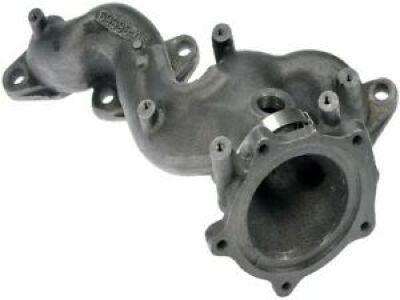 Product Specifications
- Other Name: Manifold-Exhaust
- Replaced by: 14004-F4505
- Lookup Code: 14004
- Item Weight: 16.20 Pounds
- Item Dimensions: 16.8 x 13.3 x 6.9 inches
- Condition: New
- Fitment Type: Direct Replacement
- SKU: 14004-F4504
- Warranty: This genuine part is guaranteed by Nissan's factory warranty.
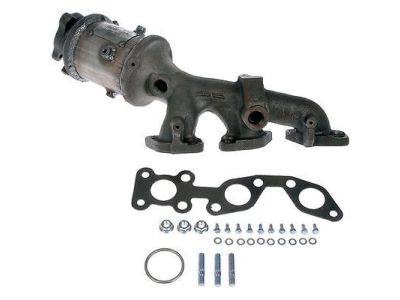 Product Specifications
- Other Name: Manifold Exhaust W/Catalyst, Lh ; Manifold Assy-Exhaust; Exhaust Manifold
- Position: Driver Side
- Lookup Code: 14002
- Item Weight: 8.40 Pounds
- Item Dimensions: 16.2 x 15.4 x 12.9 inches
- Condition: New
- Fitment Type: Direct Replacement
- SKU: 14002-9S210
- Warranty: This genuine part is guaranteed by Nissan's factory warranty.
- Product Specifications
- Other Name: Manifold-Exhaust; Manifold
- Replaces: 14004-F4504
- Lookup Code: 14004
- Item Weight: 15.60 Pounds
- Item Dimensions: 17.0 x 13.3 x 6.9 inches
- Condition: New
- Fitment Type: Direct Replacement
- SKU: 14004-F4505
- Warranty: This genuine part is guaranteed by Nissan's factory warranty.
2004 Nissan Xterra Exhaust Manifold With Catalytic Converter Passenger Side
Part Number: 14002-EK800Product Specifications- Other Name: Manifold Exhaust W/Catalyst, Rh ; Manifold-Exhaust
- Position: Passenger Side
- Lookup Code: 14004
- Item Weight: 13.90 Pounds
- Item Dimensions: 16.3 x 15.8 x 15.1 inches
- Condition: New
- Fitment Type: Direct Replacement
- SKU: 14002-EK800
- Warranty: This genuine part is guaranteed by Nissan's factory warranty.
2004 Nissan Xterra Exhaust Manifold
Committed to delivering top-notch quality at affordable prices, our website is your go-to source for OEM 2004 Nissan Xterra Exhaust Manifold worldwide. Each of our genuine 2004 Nissan Xterra Exhaust Manifold come with a manufacturer's warranty, so rest assured, quality and cost are covered. With us, you're making a smart choice that stands the test of time.
2004 Nissan Xterra Exhaust Manifold Parts Questions & Experts Answers
- Q:How to remove and install exhaust manifolds on 3.3L V6 2004 Nissan Xterra?Posted by Tatianne S.A:The engine must be completely cool before beginning this procedure. REMOVAL: Disconnect the cable from the negative terminal of the battery. Raise the front of the vehicle and support it on jackstands. Spray penetrating oil on the exhaust manifold fasteners and allow it to soak in. Working under the vehicle, disconnect the front exhaust pipes from the vehicle. On California models, detach the heat shields from the pre-catalytic converter, disconnect the oxygen sensor connectors and remove the pre-cat from the exhaust manifold. If both exhaust manifolds are being removed, both pre-catalytic converters or front exhaust pipes must be removed. On 2WD models, remove the front suspension crossmember first, to facilitate removal of the front exhaust pipes. For the left manifold, remove the air intake duct and the top half of air cleaner housing as an assembly from the throttle body. Disconnect the EGR flare tube from the exhaust manifold. Remove the bracket holding the engine oil dipstick. Remove the heat shield from the manifold to provide access to the manifold fasteners, and remove the upper row of manifold nuts. Work from the ends toward the middle when removing the manifold fasteners. Working from below, remove the lower row of manifold fasteners and remove the manifold from the engine. For the right manifold, working from above, remove the manifold heat shield. Remove the upper row of manifold nuts. Work from the ends toward the middle when removing the manifold fasteners. Working from below, remove the lower row of manifold fasteners and remove the manifold from the engine. INSTALLATION: Carefully inspect the manifolds and fasteners for cracks and damage. Use a scraper to remove all traces of old gasket material and carbon deposits from the manifold and cylinder head mating surfaces. If the gasket was leaking, have the manifold checked for warpage at an automotive machine shop and resurfaced if necessary. Position new gaskets over the cylinder head studs. Install the manifold and thread the mounting nuts into place. Working from the center out, tighten the nuts to the specific torque in three or four equal steps. Reinstall the remaining parts in the reverse order of removal. Use new gaskets when connecting the exhaust pipe flange connections. Run the engine and check for exhaust leaks.Answered by Nissan Parts Specialist Jorge / Jan 09, 2022
Related 2004 Nissan Xterra Parts
 2004 Nissan Xterra Emblem
 2004 Nissan Xterra Seat Belt
 2004 Nissan Xterra Door Lock Actuator
 2004 Nissan Xterra Oxygen Sensor
 2004 Nissan Xterra Catalytic Converter
 2004 Nissan Xterra Headlight
 2004 Nissan Xterra Door Handle
 2004 Nissan Xterra Lift Support
 2004 Nissan Xterra EGR Valve
 2004 Nissan Xterra Bumper
 2004 Nissan Xterra Window Regulator
 2004 Nissan Xterra Spare Wheel