×
- Hello
- Login or Register
- Quick Links
- Live Chat
- Track Order
- Parts Availability
- RMA
- Help Center
- Contact Us
- Shop for
- Nissan Parts
- Nissan Accessories

My Garage
My Account
Cart
Genuine 2012 Nissan Sentra Crankshaft Seal
- Select Vehicle by Model
- Select Vehicle by VIN
Select Vehicle by Model
orMake
Model
Year
Select Vehicle by VIN
For the most accurate results, select vehicle by your VIN (Vehicle Identification Number).
5 Crankshaft Seals found
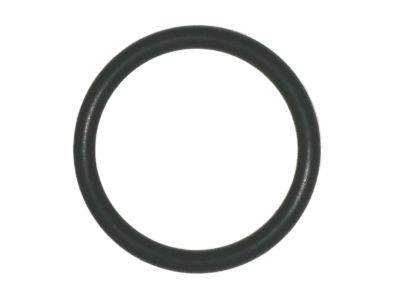
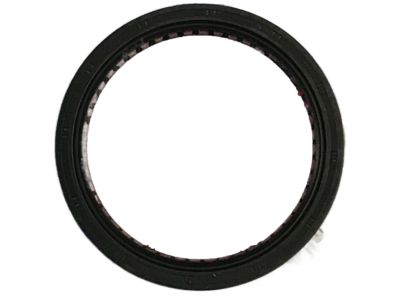
2012 Nissan Sentra Rear Seal
Part Number: 15066-ZW80A$5.70 MSRP: $8.04You Save: $2.34 (30%)Ships in 1 Business DayProduct Specifications- Other Name: Seal - O-Ring; Rear Seal, Timing Cover Seal
- Manufacturer Note: 150663RC6A
- Replaces: 15066-EN200
- Lookup Code: 13035HA
- Item Weight: 0.10 Pounds
- Item Dimensions: 0.8 x 0.8 x 0.1 inches
- Condition: New
- Fitment Type: Direct Replacement
- SKU: 15066-ZW80A
- Warranty: This genuine part is guaranteed by Nissan's factory warranty.
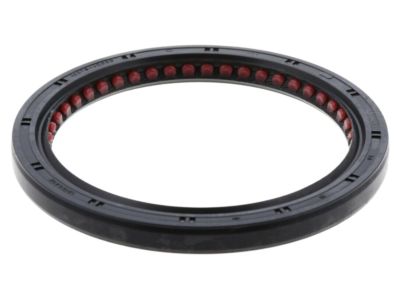
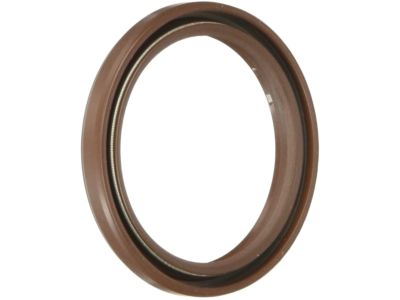
2012 Nissan Sentra Rear Main Seal
Part Number: 12279-4Z001$37.40 MSRP: $54.17You Save: $16.77 (31%)Ships in 1-2 Business DaysProduct Specifications- Other Name: Seal-Oil, Crankshaft Rear; Rear Main Seal, Seal
- Position: Rear
- Replaces: 12279-4Z000
- Lookup Code: 12279
- Item Weight: 0.20 Pounds
- Item Dimensions: 4.3 x 4.2 x 0.4 inches
- Condition: New
- Fitment Type: Direct Replacement
- SKU: 12279-4Z001
- Warranty: This genuine part is guaranteed by Nissan's factory warranty.
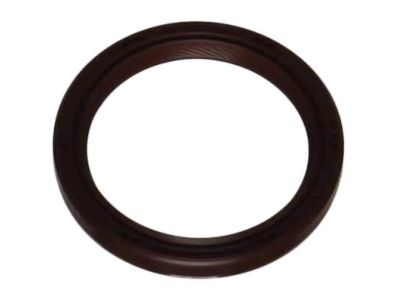
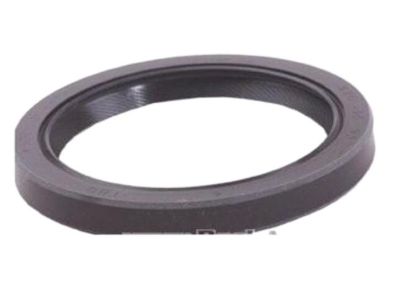
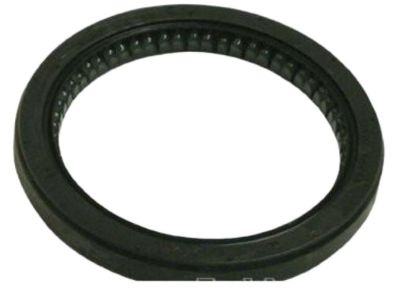
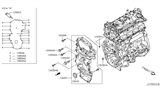
2012 Nissan Sentra Oil Crankshaft Front Seal
Part Number: 13510-6N200$17.54 MSRP: $24.18You Save: $6.64 (28%)Ships in 1-2 Business DaysProduct Specifications- Other Name: Seal - Oil, Crankshaft Front
- Manufacturer Note: 135101KC1A
- Position: Front
- Replaced by: 13510-1LA0A
- Lookup Code: 13042
- Item Weight: 0.20 Pounds
- Item Dimensions: 2.6 x 2.5 x 0.3 inches
- Condition: New
- Fitment Type: Direct Replacement
- SKU: 13510-6N200
- Warranty: This genuine part is guaranteed by Nissan's factory warranty.
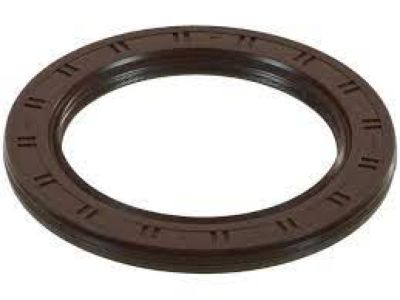
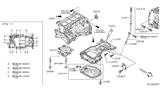
2012 Nissan Sentra Oil Crankshaft Rear Seal
Part Number: 12279-3HC0A$40.63 MSRP: $58.85You Save: $18.22 (31%)Ships in 1-3 Business DaysProduct Specifications- Other Name: Seal - Oil, Crankshaft Rear
- Position: Rear
- Replaced by: 12279-3HC0B
- Lookup Code: 12279
- Item Weight: 0.20 Pounds
- Item Dimensions: 0.4 x 4.9 x 4.8 inches
- Condition: New
- Fitment Type: Direct Replacement
- SKU: 12279-3HC0A
- Warranty: This genuine part is guaranteed by Nissan's factory warranty.
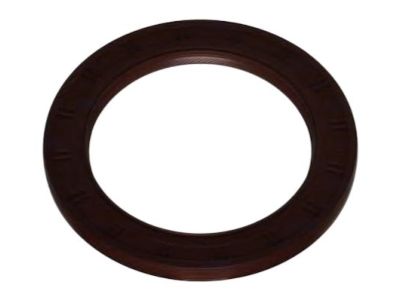
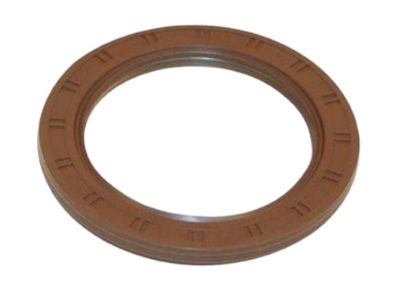
2012 Nissan Sentra Oil Crankshaft Rear Seal
Part Number: 12279-ET000$40.63 MSRP: $58.85You Save: $18.22 (31%)Ships in 1-3 Business DaysProduct Specifications- Other Name: Seal - Oil, Crankshaft Rear
- Position: Rear
- Replaced by: 12279-3HC0B
- Lookup Code: 12279
- Item Weight: 0.20 Pounds
- Item Dimensions: 0.4 x 5.0 x 4.8 inches
- Condition: New
- Fitment Type: Direct Replacement
- SKU: 12279-ET000
- Warranty: This genuine part is guaranteed by Nissan's factory warranty.
2012 Nissan Sentra Crankshaft Seal
Committed to delivering top-notch quality at affordable prices, our website is your go-to source for OEM 2012 Nissan Sentra Crankshaft Seal worldwide. Each of our genuine 2012 Nissan Sentra Crankshaft Seal come with a manufacturer's warranty, so rest assured, quality and cost are covered. With us, you're making a smart choice that stands the test of time.
2012 Nissan Sentra Crankshaft Seal Parts Questions & Experts Answers
- Q:How to replace the crankshaft seal and ensure proper installation on 2012 Nissan Sentra?Posted by Zico F.A:Loosen the right front wheel lug nuts, then raise the vehicle and support it securely on jackstands before removing the right front wheel. Next, take out the right inner wheel well and the drivebelts. Remove the crankshaft pulley bolt, and if needed, have an assistant hold the crankshaft from turning by wedging a screwdriver in the flywheel/driveplate teeth through the access hole. Use a puller to remove the pulley from the crankshaft, ensuring the proper adapter is used to prevent damage to the threads or end of the crankshaft, and that the jaws of the puller are secured to the hub of the pulley. Utilize a seal-puller tool or a screwdriver with a taped tip to carefully pry out the seal without damaging the seal bore or scratching the crankshaft snout. Clean the bore in the timing chain cover and coat the outer edge of the new seal with engine oil or multi-purpose grease, also lubricating the seal lips. Using a seal driver or a socket slightly smaller than the seal's outside diameter, carefully drive the new seal into place, ensuring it is installed squarely and to the same depth as the original, while checking that the garter spring remains in place. Remember that the oil seal lip faces the engine and the dust seal lip faces the pulley. Reinstall the crankshaft pulley and drivebelt, tightening the crankshaft pulley bolt to the specified torque, then run the engine and check for oil leaks.Answered by Nissan Parts Specialist Randy / Jun 29, 2025
Related 2012 Nissan Sentra Parts
 2012 Nissan Sentra Camshaft Position Sensor
 2012 Nissan Sentra Camshaft Seal
 2012 Nissan Sentra Coolant Temperature Sensor
 2012 Nissan Sentra Crankshaft
 2012 Nissan Sentra Alternator Bracket
 2012 Nissan Sentra Belt Tensioner Bolt