×
- Hello
- Login or Register
- Quick Links
- Live Chat
- Track Order
- Parts Availability
- RMA
- Help Center
- Contact Us
- Shop for
- Nissan Parts
- Nissan Accessories

My Garage
My Account
Cart
This part fits
2024 Nissan Z 6 Cyl 3.0 L GAS
Check another vehicleNissan 11026-JA00A Transmission Pan Washer
1980-2025 Nissan 11026JA00A
Customer Questions & Expert Answers (1)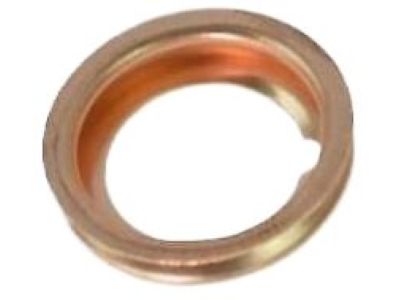
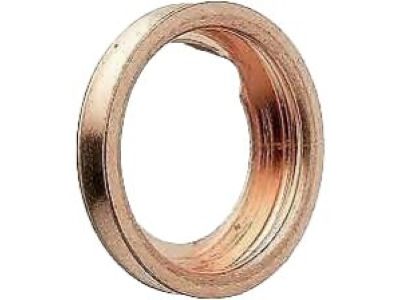
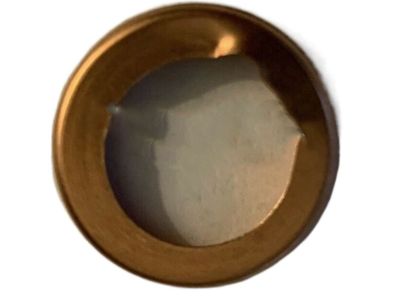
- Part DescriptionWasher-Drain Plug
- Lookup Code11128A
- Replaces
- ManufacturerNissan
This part fits
2024 Nissan Z 6 Cyl 3.0 L GAS
Check another vehicle$0.62 MSRP: $0.85
You Save: $0.23 (28%)
Ships in 1-3 Business Days
1
- Related Parts
- Specifications
- Q&A
Product Specifications
Brand Genuine Nissan Lookup Code 11128A Manufacturer Part Number 11026-JA00A Part Description Transmission Pan Washer; Washer-Drain Plug Item Dimensions 0.7 x 0.7 x 0.1 inches Item Weight 0.10 Pounds Condition New Fitment Type Direct Replacement Replaces 11026-31X00, 11026-01M01, 11026-JX00A, 11026-01M00, 11026-01F10, 11026-01M02 Manufacturer Nissan SKU 11026-JA00A Warranty This genuine Nissan part is guaranteed by Nissan's factory warranty. Shipping & Return Shipping Policy Return Policy Warning: California's Proposition 65Customer Questions & Expert Answers
- Installation & Repair Tips by AI Expert
- Removal: 1. Park on level ground, set parking brake, chock wheels and wear eye/hand protection. 2. Let the engine and drivetrain cool until safe to work on the drain area. 3. If there are nearby electrical sensors or wiring that you will contact, disconnect the negative battery terminal before starting work. 4. Raise and support the vehicle with a lift or jack stands placed at manufacturer-approved points (or use ramps); never rely on a jack alone. 5. Position a suitable drain pan under the drain plug area to catch fluid. 6. Clean the area around the drain plug to prevent contamination when opened. 7. Use the correct size wrench or socket to break the drain plug loose; turn counterclockwise and allow fluid to drain into the pan. 8. Remove the plug by hand and capture the old washer; be careful not to let it fall into the drain pan or sump. 9. Inspect the plug threads and sealing face for damage and remove any remnants of the old washer or debris. 10. Properly contain and dispose of the drained fluid and old washer per local regulations. Installation: 1. Clean the drain plug and mating surface on the pan until dry and free of oil and debris. 2. Fit the new drain plug washer onto the plug so it sits flat against the plug head (confirm orientation if the washer is directional). 3. Start the plug by hand to avoid cross-threading; thread fully by hand before using tools. 4. Tighten the plug snugly with the appropriate tool, then finish to the manufacturer's specified torque - do not guess torque values or overtighten. 5. Refill with the correct type and amount of fluid, and set the fluid level per the vehicle's service procedure. 6. Reconnect the negative battery terminal if it was disconnected. 7. Run the engine or operate the component briefly, then check the drain plug area for leaks. 8. Recheck fluid level after a short operating period and top up if necessary. 9. Dispose of used parts and fluids responsibly. Repair tip: Always have the correct style/size washer on hand (many are crush-style and should be replaced each time); if unsure, compare the new washer to the old one before installation.
Why choose Nissan Parts Deal
- Dedicated Service
Your complete satisfaction is our #1 goal
- Lowest Prices
Best deals on genuine OE parts from dealerships
- Fast Delivery
Orders are processed and delivered promptly