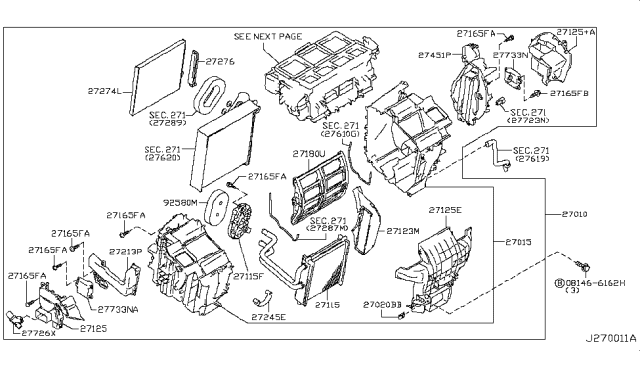
Replacement of the heater core is a difficult procedure for the home mechanic, involving removal of the entire dashboard, console, and many wiring connectors. If you attempt it at home, keep track of the assemblies by taking notes and keeping screws and other hardware in small, marked plastic bags for reassembly. Have the air conditioning system evacuated by a properly equipped shop. Disconnect the cable from the negative terminal of the battery. Drain the cooling system. Disconnect the heater hoses from the pipes that protrude through the firewall. Disconnect the air conditioning lines from the expansion valve block at the firewall. The air conditioning refrigerant lines pass through the firewall at this point, disconnect them and seal the open ends to prevent contamination. Remove the entire instrument panel assembly. Remove the vertical instrument panel brace from the area of the accelerator pedal. Remove the four heater unit mounting bolts. Remove the mounting nuts from the steering column, then disconnect the three ground wires from the instrument panel cross bar. Disconnect the wiring from the heater unit. Remove the three bolts from each end of the instrument panel cross bar, then remove the bar. Disconnect the evaporator drain hose. Remove the rear air ducts from the heater unit. Remove the heater unit from the vehicle. Remove the heater tubing grommet, support and cover from the heater tubes. Remove the left footwell air duct. Slide the heater core from the case. Reinstall the heater core into the heater unit and replace the assembly in the reverse order of removal. Refill the cooling system. Reconnect the battery and perform the necessary re-learn procedures. Check for leaks and proper system operation. Check the operation of all electrical components of the steering column and dash. Have the air conditioning system recharged by the shop that discharged it.