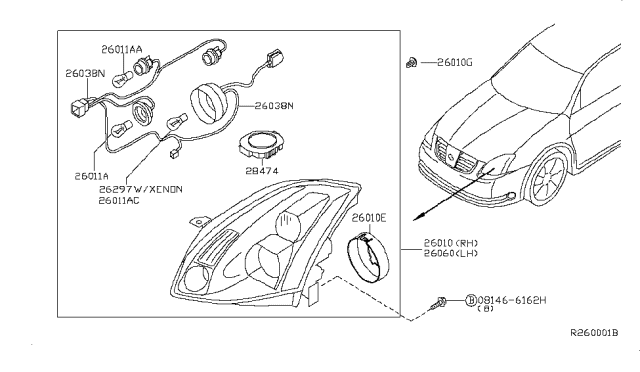
It is crucial for headlights to be aimed correctly to prevent blinding oncoming drivers and to ensure optimal visibility on the road. Regular checks for proper aim should occur every 12 months or whenever a new headlight is installed or front-end body work is done. The following procedure offers a temporary adjustment until a professional can perform a proper alignment. For 1999 and earlier models, which have composite headlights with two adjustment screws-one for horizontal and one for vertical movement-use a Phillips screwdriver or small wrench for adjustments. Early models feature one adjustment rod at the rear and one on top, while 1995 and later models have both rods pointing to the rear. To adjust, position a blank wall 25 feet in front of the vehicle and use masking tape to mark the vehicle centerline and headlight centerlines. A horizontal tape line should also be established. Ensure the vehicle is level, with a half-full gas tank and no heavy load. For low beams, adjust the high-intensity zone to be two inches below the horizontal line and two inches to the side away from oncoming traffic. For high beams, the high-intensity zone should be centered just below the horizontal line. If a compromise is necessary, prioritize low beams for safety. For 2000 and later models, locate the aiming screw, which is positioned differently depending on the model year, and turn it to adjust the bulb. It is recommended to have the headlights adjusted by a dealer service department as soon as possible.