My Garage
Cart
Make sure this part fits

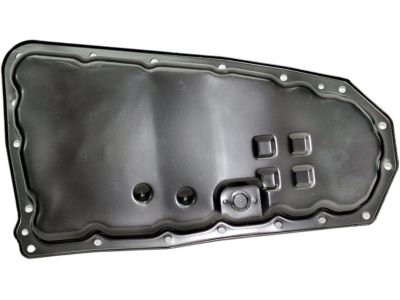
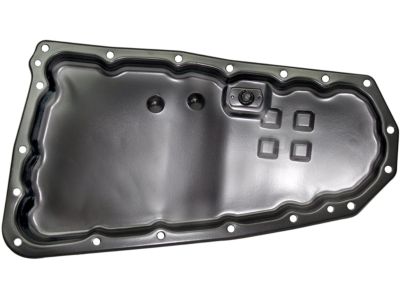
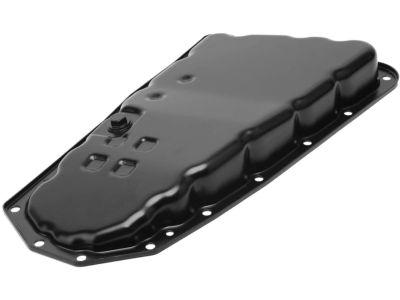
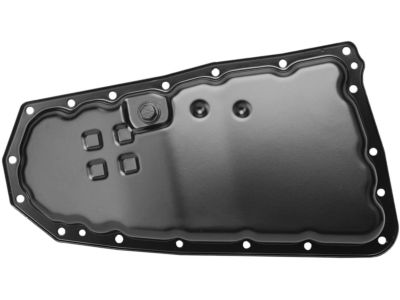
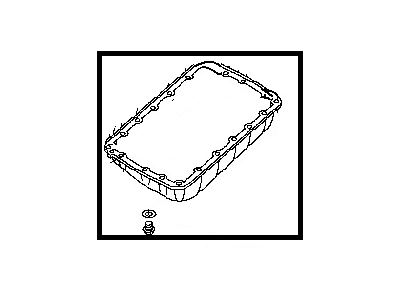
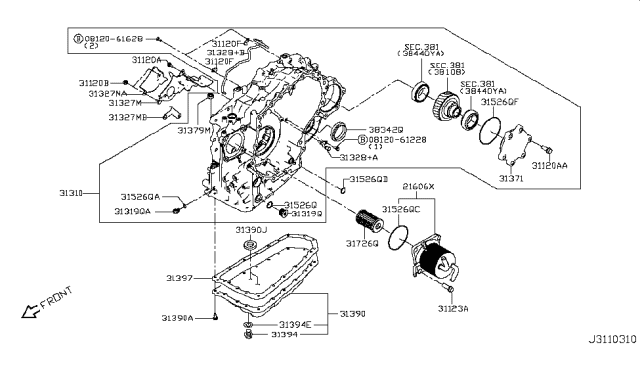
Nissan 31390-1XF00 Oil Pan Assembly

2007-2015 Nissan 313901XF00

Customer Questions & Expert Answers (2)
31390-1XF00 Nissan Oil Pan Assembly Product Photo 1 of 4
  • Part Description
    Pan Assy-Oil
  • Lookup Code
    31390
  • Replaces
    31390-1XZ0A
  • Manufacturer
    Nissan
Make sure this part fits
$59.18 MSRP: $83.58
You Save: $24.40 (30%)
Ships in 1-3 Business Days
1
ADD TO CART
  • Related Parts
  • Specifications
  • Fitment
  • Q&A
  • Product Specifications

    BrandGenuine Nissan
    Lookup Code31390
    Manufacturer Part Number31390-1XF00
    Part DescriptionPan Assy-Oil
    Other NamesTransmission Pan
    Item Dimensions16.6 x 12.7 x 3.7 inches
    Item Weight2.80 Pounds
    ConditionNew
    Fitment TypeDirect Replacement
    Replaces31390-1XZ0A
    ManufacturerNissan
    SKU31390-1XF00
    WarrantyThis genuine Nissan part is guaranteed by Nissan's factory warranty.
    Shipping & ReturnShipping Policy Return Policy
    Warning: California's Proposition 65
  • Vehicle Fitment

    Year Make Model Trim & Engine Important vehicle option details
    2013-2015 Nissan NVS, SV|4 Cyl 2.0LMR20DE
    2008-2015 Nissan RogueS, SL, SV|4 Cyl 2.5LQR25DE
    2007-2012 Nissan Sentra20, SE-R|4 Cyl 2.0L, 4 Cyl 2.5LMR20DE, QR25DE
  • Customer Questions & Expert Answers

    Q:
    I want to make sure this part fits my car.
    A:
    You can Select Your Vehicle to check if 31390-1XF00 fits your vehicle.
    Posted and answered by Nissan Parts Specialist Troy
    Q:
    How to remove and install the Oil Pans on Nissan Sentra? Posted by Yusuf Y.
    A:
    The undertaking entails the stripping off of two pans; the lower steel oil pan and the upper aluminum oil pan with the notion that if only the lower pan is being stripped off, a number of steps may not be taken since the pan is easily accessible. On 2.0L engines, the upper oil pan is best reached by separating the engine and transaxle; the oil pump is located with the upper pan, and therefore, cannot be removed individually. Start off by first removing the negative terminal of the battery, then the lugs that holding the right front wheel, placing and topping the car on jackstands safely and finally removing the right front wheel. Sump the engine oil, remove the front portion of the exhaust pipe and the drive belt. On smaller 2.5L engines, the right side of the car, take off the driveaxle bearing bracket and air conditioning compressor; however, leave the lines connected. For the vehicle of 2.0 L power unit, the timing chain cover, timing chain, and oil pump drive chain and sprocket have to be dismantled. Next, remove the flywheel/driveplate. This is made up of a two-part system, consisting of a steel pan fixed to an aluminum piece that is bolted onto the engine; to dismantle the oil pan, undo the oil pan bolts in a backward sequence of how they were tightened and then you can separate the steel part using a thin putty knife more so do not pry the part using a screwdriver. While on 2.5L engines, there are fasteners that holds the oil pump screen and on 2.0L engines, the oil pump an the screen are fixed there permanently. First loosen the bolts that fixed the aluminum section to the engine block, and trim the sealant around the aluminum section with putty knife and then pry it down at the transaxle end. For installation, use a scraper to remove old gasket material and sealant on the flanks of the metallic surfaces, clean the areas that the bolts are to screw into, and make sure they are clean. Make sure the steel pan flange has not distorted and needs to be repaired if it has. Spread a 3/16-inch wide strip of RTV sealant around the section of aluminum, and replace the O-rings if there are Some, place the section of aluminum on the engine block, then put the bolts in and tighten them in a star pattern to the recommended torque. Cookie all the round RO sealant in the steel pan perimeter and set the pan in the RV within 15 minutes by successively applying torque to the bolts. Re-install the removed parts by substituting the old oil filter with the new one, wait for at least half an hour before adding oil to let the RTV set, reconnect the battery and perform any re-learn operations.

    You can Select Your Vehicle to see complete installation and repair tips.
    Answered by Nissan Parts Specialist Jorge / Feb 10, 2024

Genuine Nissan Part 31390-1XF00, the Right Choice

To ensure reliability, purchase Nissan part # 31390-1XF00 Oil Pan Assembly. It can be referred to as Oil Pan, Transmission Pan. The first option would be to use OEM parts. Designed by Nissan manufacturer and are produced with stringent factory specifications, undergoing the quality control procedures. This part fits 2007-2012 Sentra, 2008-2015 Rogue, 2013-2015 NV.

NissanPartsDeal.com is a leading supplier of genuine Nissan parts and accessories, such as 313901XF00 Oil Pan Assembly. Welcome to our vast selection of competitively priced genuine Nissan parts available online. We provide each OEM part with a manufacturer's warranty and a straightforward return policy. Place your order now and receive your parts quickly, shipped directly to your doorstep.

Why choose Nissan Parts Deal

  • Dedicated Service

    Your complete satisfaction is our #1 goal

  • Lowest Prices

    Best deals on genuine OE parts from dealerships

  • Fast Delivery

    Orders are processed and delivered promptly