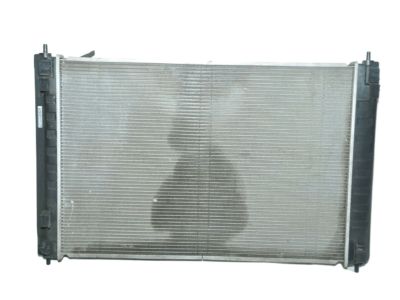
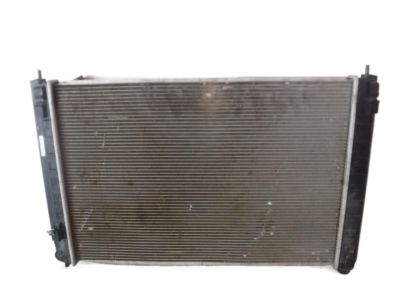
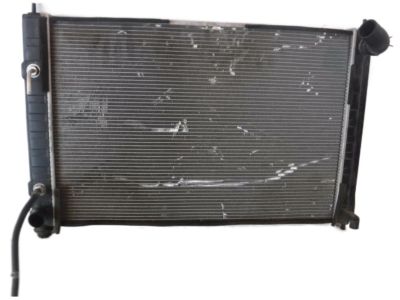
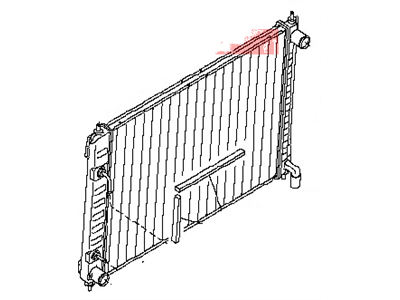
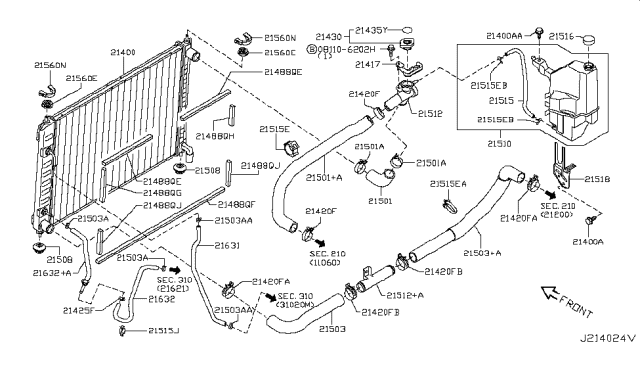
Disconnect the cable from the negative terminal of the battery. Drain the cooling system. Raise the vehicle and support it securely on jackstands. Remove the lower engine splash shield, the air inlet duct, and the radiator top covers. Remove the grille and the hood latch assembly. Remove the horn. Disconnect the coolant reservoir hose from the radiator cap adapter. Disconnect the transaxle cooler hoses from the radiator. Remove the upper radiator hose including the cap and adapter. Disconnect the lower radiator hose from the radiator. Detach the upper radiator mounts by spreading the horseshoe clips to release the rubber bushings. Pull the top of the radiator back and upward to lift it out. With the radiator removed, it can be inspected for leaks and damage. If it needs repair, have a radiator shop or dealer service department perform the work, as special techniques are required. Bugs and dirt can be removed from the radiator with a soft brush, followed by forcing water from a garden hose through the core from the engine side. Don't bend the cooling fins as this is done. Installation is the reverse of the removal procedure. Be sure the radiator mounting pads are seated properly at the base of the radiator. After installation, fill the cooling system with the proper mixture of antifreeze and water. Reconnect the battery and perform the necessary re-learn procedures. Allow the engine to reach normal operating temperature, indicated by the upper radiator hose becoming hot. Recheck the coolant level and add more if required. Check and add transmission fluid as needed. Disconnect the overflow hose from the fitting by the radiator cap. Unbolt the coolant reservoir and remove it from the vehicle. Pour the coolant into a container. Wash out the reservoir, using soapy water and a long brush to make the coolant level easier to read. Inspect the reservoir for cracks and chafing. Replace it if any damage is found. Installation is the reverse of removal.