×
- Hello
- Login or Register
- Quick Links
- Live Chat
- Track Order
- Parts Availability
- RMA
- Help Center
- Contact Us
- Shop for
- Nissan Parts
- Nissan Accessories

My Garage
My Account
Cart
Genuine 2012 Nissan Sentra Axle Shaft
Car Axle Shaft- Select Vehicle by Model
- Select Vehicle by VIN
Select Vehicle by Model
orMake
Model
Year
Select Vehicle by VIN
For the most accurate results, select vehicle by your VIN (Vehicle Identification Number).
10 Axle Shafts found
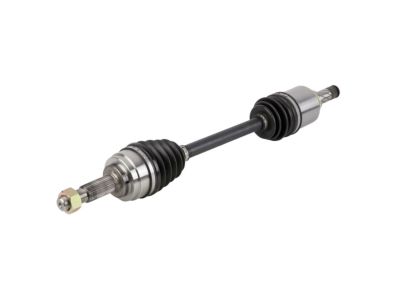
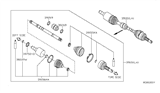
2012 Nissan Sentra Axle Assembly
Part Number: 39101-ET000$421.72 MSRP: $580.88You Save: $159.16 (28%)Ships in 1-2 Business DaysProduct Specifications- Other Name: Shaft Assembly - Front Drive, Driver Side; Axle Assembly
- Position: Driver Side
- Lookup Code: 39101
- Item Weight: 17.00 Pounds
- Item Dimensions: 30.6 x 5.3 x 4.5 inches
- Condition: New
- Fitment Type: Direct Replacement
- SKU: 39101-ET000
- Warranty: This genuine part is guaranteed by Nissan's factory warranty.
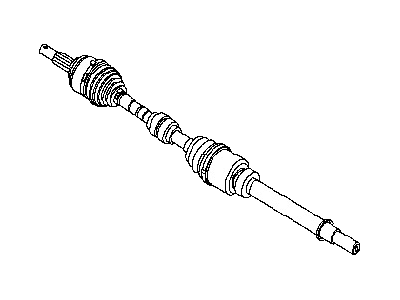
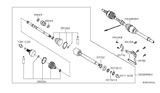
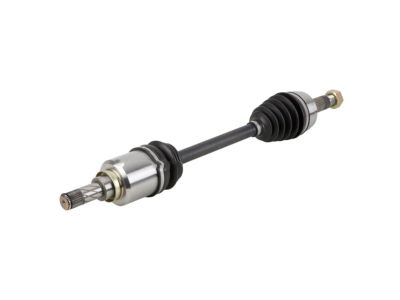
2012 Nissan Sentra Axle Assembly
Part Number: 39100-ET80C$414.92 MSRP: $571.52You Save: $156.60 (28%)Ships in 1-2 Business DaysProduct Specifications- Other Name: Shaft Assembly - Front Drive, Passenger Side; Axle Assembly
- Position: Passenger Side
- Lookup Code: 39100M
- Item Weight: 23.80 Pounds
- Item Dimensions: 42.1 x 7.3 x 6.5 inches
- Condition: New
- Fitment Type: Direct Replacement
- SKU: 39100-ET80C
- Warranty: This genuine part is guaranteed by Nissan's factory warranty.
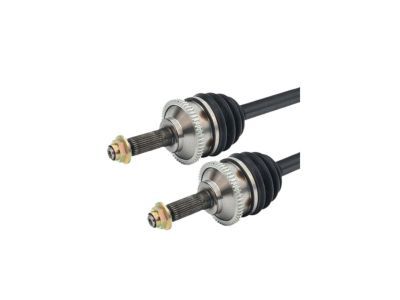
2012 Nissan Sentra Axle Assembly
Part Number: 39101-ET80B$414.92 MSRP: $571.52You Save: $156.60 (28%)Ships in 1-2 Business DaysProduct Specifications- Other Name: Shaft Assembly - Front Drive, Driver Side; Axle Assembly
- Position: Driver Side
- Lookup Code: 39101
- Item Weight: 17.40 Pounds
- Item Dimensions: 27.3 x 7.7 x 7.3 inches
- Condition: New
- Fitment Type: Direct Replacement
- SKU: 39101-ET80B
- Warranty: This genuine part is guaranteed by Nissan's factory warranty.
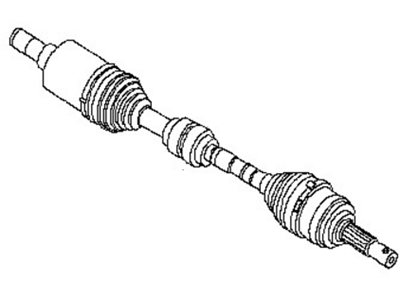
2012 Nissan Sentra Axle Assembly
Part Number: 39101-ET80C$454.45 MSRP: $580.88You Save: $126.43 (22%)Product Specifications- Other Name: Shaft Assembly - Front Drive, Driver Side; Axle Assembly
- Position: Driver Side
- Lookup Code: 39101
- Item Weight: 18.90 Pounds
- Item Dimensions: 27.5 x 7.3 x 6.8 inches
- Condition: New
- Fitment Type: Direct Replacement
- SKU: 39101-ET80C
- Warranty: This genuine part is guaranteed by Nissan's factory warranty.
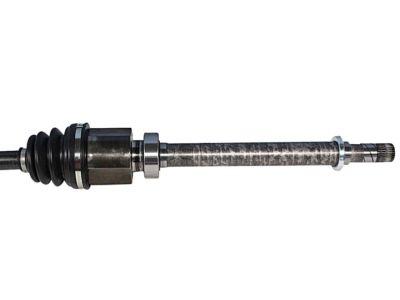
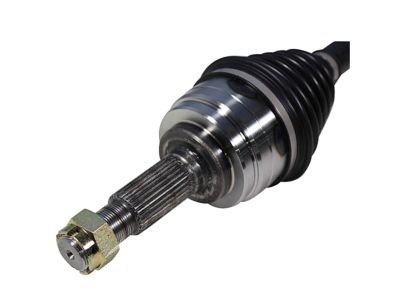
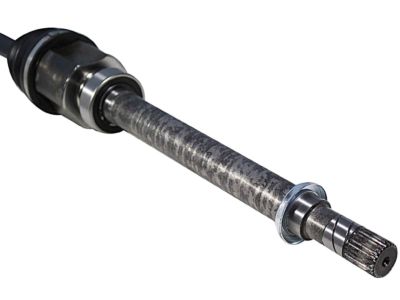
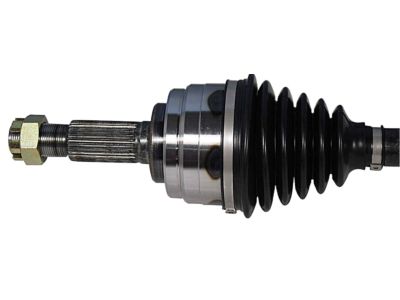 Product Specifications
- Other Name: Shaft Assy-Front Drive,RH; Axle Assembly
- Position: Passenger Side
- Lookup Code: 39100M
- Item Weight: 21.00 Pounds
- Item Dimensions: 43.4 x 5.1 x 4.8 inches
- Condition: New
- Fitment Type: Direct Replacement
- SKU: 39100-ET000
- Warranty: This genuine part is guaranteed by Nissan's factory warranty.
- Product Specifications
- Other Name: Shaft Assy-Front Drive,RH; Axle Assembly
- Position: Passenger Side
- Replaces: 39100-ET200
- Lookup Code: 39100M
- Item Weight: 16.00 Pounds
- Item Dimensions: 44.5 x 5.2 x 4.7 inches
- Condition: New
- Fitment Type: Direct Replacement
- SKU: 39100-9AA0A
- Warranty: This genuine part is guaranteed by Nissan's factory warranty.
- Product Specifications
- Other Name: Shaft Assy-Front Drive,RH
- Position: Passenger Side
- Replaced by: 39100-9AA0A
- Lookup Code: 39100M
- Item Weight: 16.00 Pounds
- Item Dimensions: 44.1 x 5.3 x 4.7 inches
- Condition: New
- Fitment Type: Direct Replacement
- SKU: 39100-ET200
- Warranty: This genuine part is guaranteed by Nissan's factory warranty.
- Product Specifications
- Other Name: Shaft Assy-Front Drive,LH
- Position: Driver side
- Replaced by: 39101-9AA0A
- Lookup Code: 39101
- Item Weight: 15.40 Pounds
- Item Dimensions: 31.2 x 4.5 x 4.5 inches
- Condition: New
- Fitment Type: Direct Replacement
- SKU: 39101-ET200
- Warranty: This genuine part is guaranteed by Nissan's factory warranty.
- Product Specifications
- Other Name: Shaft Assy-Front Drive,LH; Axle Assembly
- Position: Driver Side
- Replaces: 39101-ET200
- Lookup Code: 39101
- Item Weight: 16.20 Pounds
- Item Dimensions: 30.9 x 4.6 x 4.7 inches
- Condition: New
- Fitment Type: Direct Replacement
- SKU: 39101-9AA0A
- Warranty: This genuine part is guaranteed by Nissan's factory warranty.
- Product Specifications
- Other Name: Shaft Assy-Front Drive,RH; Axle Assembly
- Position: Passenger Side
- Lookup Code: 39100M
- Item Weight: 24.40 Pounds
- Item Dimensions: 41.6 x 7.3 x 6.3 inches
- Condition: New
- Fitment Type: Direct Replacement
- SKU: 39100-ET80B
- Warranty: This genuine part is guaranteed by Nissan's factory warranty.
2012 Nissan Sentra Axle Shaft
Committed to delivering top-notch quality at affordable prices, our website is your go-to source for OEM 2012 Nissan Sentra Axle Shaft worldwide. Each of our genuine 2012 Nissan Sentra Axle Shaft come with a manufacturer's warranty, so rest assured, quality and cost are covered. With us, you're making a smart choice that stands the test of time.
2012 Nissan Sentra Axle Shaft Parts Questions & Experts Answers
- Q:How to remove the axle shaft on the 2012 Nissan Sentra?Posted by Kat G.A:Before removing the axle shaft, loosen the lug nuts of front wheels, jack up the automobile or lift it with a car lift and secure it on jack stands then remove the wheel. Alternatively, keep the vehicle on the ground and take off hubcap/center cap, cotter pin and loosen axle shaft nut. Remove cotter pin and nut lock, unscrew axle shaft/hub nut (pry bar between two wheel studs while loosening), remove lock nut and washer from end of axle shaft. Detach speed sensor for wheel from steering knuckle followed by removal of control arm balljoint-to-steering knuckle pinch bolt and pry down on lower control arm to separate lower balljoint from steering knuckle. Simultaneously push the axle shaft out of hub while pulling outward on steering knuckle/hub assembly. Pound on end of axle shaft to free the splines or use a puller if necessary. Place drain pan under transaxle to catch any spilled lubricant then carefully pry inner CV joint out of transaxle for left axle shaft and remove dipstick tube assembly. On right side remove retainer-bracket bolts, mark bearing position relative to support bracket then pull entire shaft away from housing making sure that bearing does not separate from inner CV joint. For instance, a new axle shaft oil seal may be put into transaxle case. To install: reverse removal procedure but use new retaining clip on axle end if reusing old one tighten bolts properly engage retaining ring on inner CV joint in groove of differential side gear for left front axle check transaxle lubricant level as needed to reach proper ADD/FILL line add fluid as needed before driving tests Finally, install wheel to hub assembly lower vehicle carefully so as not damage vehicle components or abs sensors and retighten wheel lug nuts.Answered by Nissan Parts Specialist Jorge / Jan 12, 2023
Related 2012 Nissan Sentra Parts
 2012 Nissan Sentra Torque Converter
 2012 Nissan Sentra Wheel Bearing
 2012 Nissan Sentra Transmission Pan
 2012 Nissan Sentra Transmission Assembly
 2012 Nissan Sentra Needle Bearing
 2012 Nissan Sentra Output Shaft Bearing
 2012 Nissan Sentra Pinion Washer
 2012 Nissan Sentra Transmission Oil Cooler