×
- Hello
- Login or Register
- Quick Links
- Live Chat
- Track Order
- Parts Availability
- RMA
- Help Center
- Contact Us
- Shop for
- Nissan Parts
- Nissan Accessories

My Garage
My Account
Cart
Genuine 2019 Nissan Versa Coil Springs
Strut Spring- Select Vehicle by Model
- Select Vehicle by VIN
Select Vehicle by Model
orMake
Model
Year
Select Vehicle by VIN
For the most accurate results, select vehicle by your VIN (Vehicle Identification Number).
6 Coil Springs found
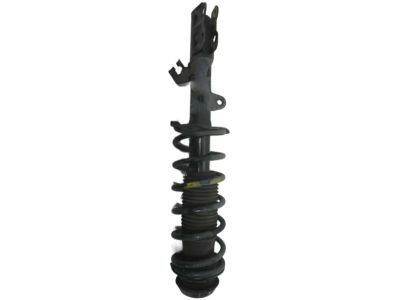
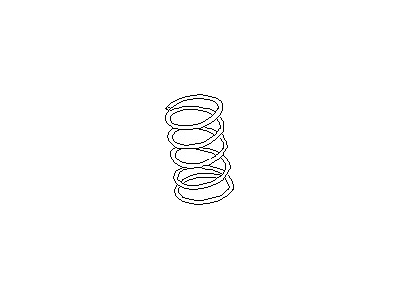
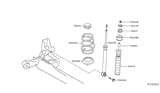
2019 Nissan Versa Front Spring
Part Number: 54010-9MB0D$75.72 MSRP: $106.95You Save: $31.23 (30%)Ships in 1-3 Business DaysProduct Specifications- Other Name: Spring - Front
- Position: Front
- Replaced by: 54010-9KZ0A
- Lookup Code: 54010M
- Item Weight: 3.70 Pounds
- Item Dimensions: 13.3 x 5.2 x 4.1 inches
- Condition: New
- Fitment Type: Direct Replacement
- SKU: 54010-9MB0D
- Warranty: This genuine part is guaranteed by Nissan's factory warranty.
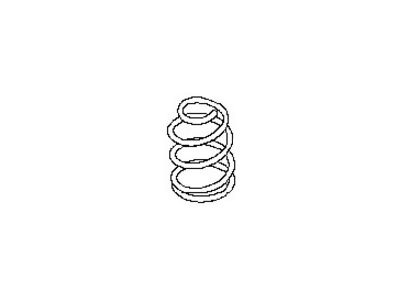
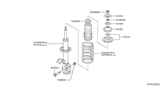
2019 Nissan Versa Coil Spring
Part Number: 55020-9ME1A$63.25 MSRP: $89.33You Save: $26.08 (30%)Ships in 1-3 Business DaysProduct Specifications- Other Name: Spring - Rear Suspension; Coil Spring, Spring
- Position: Rear
- Replaces: 55020-3VY0C, 55020-9MB0A, 55020-3VY1B, 55020-3BA0C, 55020-3VY0E
- Lookup Code: 55020M
- Condition: New
- Fitment Type: Direct Replacement
- Require Quantity: 2
- SKU: 55020-9ME1A
- Warranty: This genuine part is guaranteed by Nissan's factory warranty.
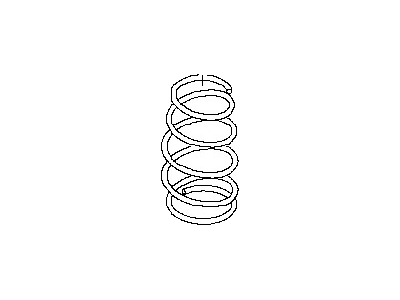
2019 Nissan Versa Coil Spring
Part Number: 54010-9KZ0A$75.72 MSRP: $106.95You Save: $31.23 (30%)Ships in 1-3 Business DaysProduct Specifications- Other Name: Spring - Front; Coil Spring, Spring
- Position: Passenger Side
- Replaces: 54010-9MB0D, 54010-9MB0A
- Lookup Code: 54010M
- Condition: New
- Fitment Type: Direct Replacement
- SKU: 54010-9KZ0A
- Warranty: This genuine part is guaranteed by Nissan's factory warranty.
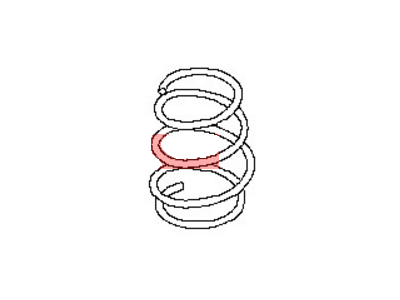
2019 Nissan Versa Spring
Part Number: 54010-9ME1B$66.98 MSRP: $94.60You Save: $27.62 (30%)Ships in 1-3 Business DaysProduct Specifications- Other Name: Spring - Front; Spring
- Manufacturer Note: SPRING FR
- Position: Front
- Replaces: 54010-3WC0C, 54010-3WC0F, 54010-3WC0B, 54010-3WC1B
- Lookup Code: 54010MA
- Item Weight: 2.90 Pounds
- Item Dimensions: 4.7 x 4.7 x 14.3 inches
- Condition: New
- Fitment Type: Direct Replacement
- SKU: 54010-9ME1B
- Warranty: This genuine part is guaranteed by Nissan's factory warranty.
2019 Nissan Versa Rear Suspension Spring
Part Number: 55020-3BA0C$63.25 MSRP: $89.33You Save: $26.08 (30%)Ships in 1-3 Business DaysProduct Specifications- Other Name: Spring - Rear Suspension
- Position: Rear
- Replaced by: 55020-9ME1A
- Lookup Code: 55020M
- Item Weight: 5.40 Pounds
- Item Dimensions: 11.0 x 5.1 x 4.6 inches
- Condition: New
- Fitment Type: Direct Replacement
- Require Quantity: 2
- SKU: 55020-3BA0C
- Warranty: This genuine part is guaranteed by Nissan's factory warranty.
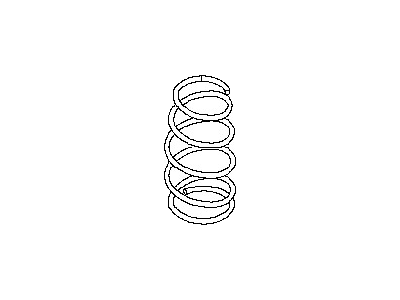
2019 Nissan Versa Front Spring
Part Number: 54010-9MB0B$65.18 MSRP: $92.07You Save: $26.89 (30%)Ships in 1-3 Business DaysProduct Specifications- Other Name: Spring - Front
- Position: Front
- Replaced by: 54010-9ME1A
- Lookup Code: 54010MA
- Item Weight: 2.80 Pounds
- Item Dimensions: 5.3 x 5.1 x 14.4 inches
- Condition: New
- Fitment Type: Direct Replacement
- SKU: 54010-9MB0B
- Warranty: This genuine part is guaranteed by Nissan's factory warranty.
2019 Nissan Versa Coil Springs
Committed to delivering top-notch quality at affordable prices, our website is your go-to source for OEM 2019 Nissan Versa Coil Springs worldwide. Each of our genuine 2019 Nissan Versa Coil Springs come with a manufacturer's warranty, so rest assured, quality and cost are covered. With us, you're making a smart choice that stands the test of time.
2019 Nissan Versa Coil Springs Parts Questions & Experts Answers
- Q:How to properly remove and install a front coil springs and shock absorber on 2019 Nissan Versa?Posted by Lamont M.A:Loosen the front wheel lug nuts, raise the front of the vehicle, and support it securely on jackstands before removing the wheels. Detach the wheel speed sensor wiring harness from the strut, then remove the clip retaining the brake hose to the strut and detach the hose from the bracket. Disconnect the stabilizer bar link from the strut, remove the strut-to-knuckle nuts, and knock the bolts out with a hammer and punch. Carefully separate the strut from the steering knuckle, ensuring not to overextend the inner CV joint or let the knuckle fall outward to avoid damaging the brake hose and ABS speed sensor wiring if equipped. Support the strut and spring assembly with one hand while removing the three upper mounting bolts after prying off the rubber cover from the cowl panel, then take the assembly out of the fender well. Check the strut body for leaking fluid, dents, cracks, and other obvious damage that may require repair or replacement. Inspect the coil spring for chips or cracks in the coating, which could lead to premature failure due to corrosion, and examine the spring seat for cuts, hardness, and general deterioration. If any undesirable conditions are found, proceed to disassemble the strut. Guide the strut assembly up into the fenderwell and install the upper mounting bolts, tightening them to the specified torque, preferably with the help of an assistant due to the weight and awkwardness of the strut. Slide the steering knuckle into the strut flange, insert the bolts, and install the nuts, tightening them to the specified torque. Complete the installation by reversing the removal steps, tightening the stabilizer bar link nut and the wheel lug nuts to the specified torque, and have the front end alignment checked and adjusted if necessary.Answered by Nissan Parts Specialist Brian / Nov 17, 2025
Related 2019 Nissan Versa Parts
 2019 Nissan Versa Shock Absorber
 2019 Nissan Versa Coil Spring Insulator
 2019 Nissan Versa Shock And Strut Mount
 2019 Nissan Versa Strut Bearing
 2019 Nissan Versa Bump Stop
 2019 Nissan Versa Front Cross-Member
 2019 Nissan Versa Rear Crossmember