×
- Hello
- Login or Register
- Quick Links
- Live Chat
- Track Order
- Parts Availability
- RMA
- Help Center
- Contact Us
- Shop for
- Nissan Parts
- Nissan Accessories

My Garage
My Account
Cart
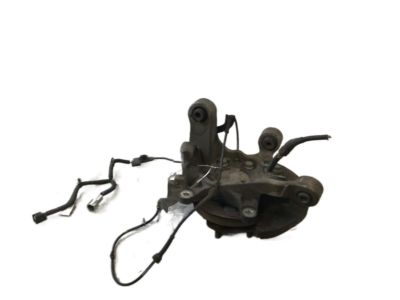
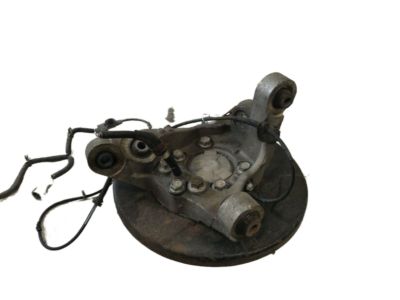
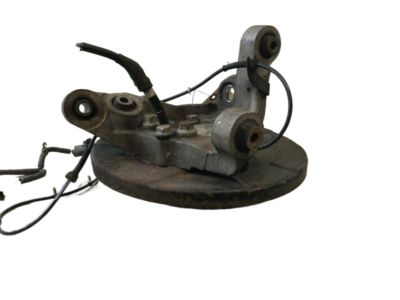
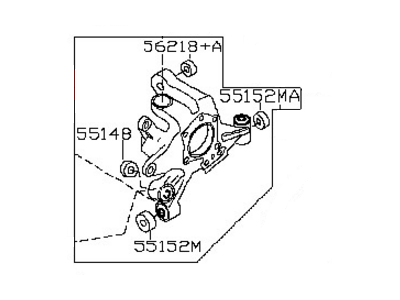
Genuine Nissan Altima Steering Knuckle
Front Steering Knuckle- Select Vehicle by Model
- Select Vehicle by VIN
Select Vehicle by Model
orMake
Model
Year
Select Vehicle by VIN
For the most accurate results, select vehicle by your VIN (Vehicle Identification Number).
59 Steering Knuckles found

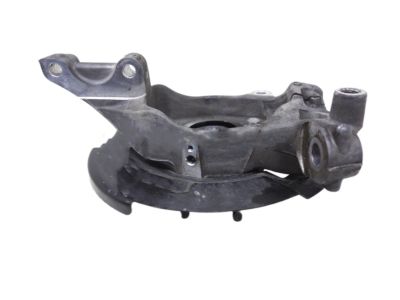
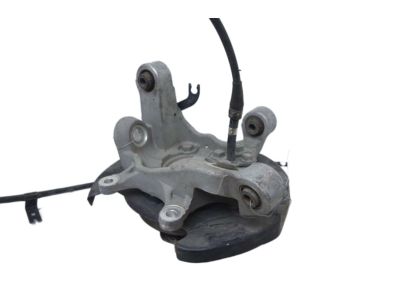
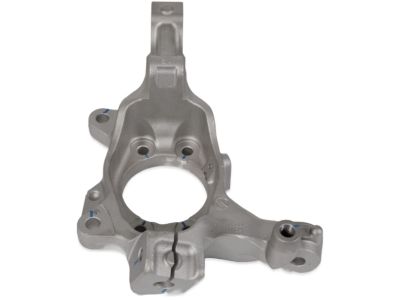
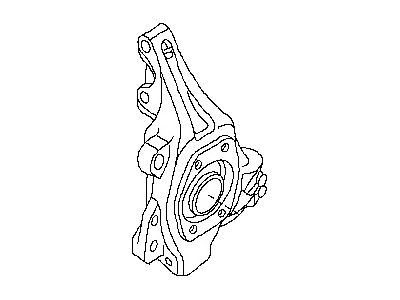
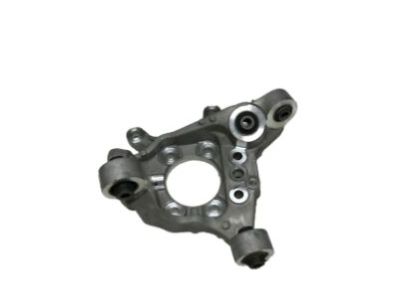
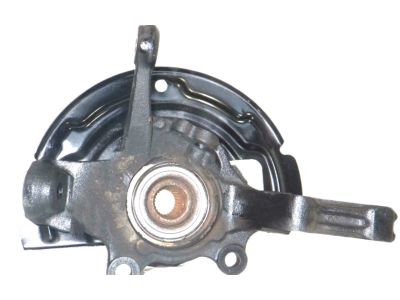
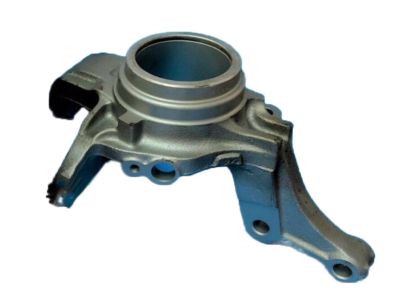
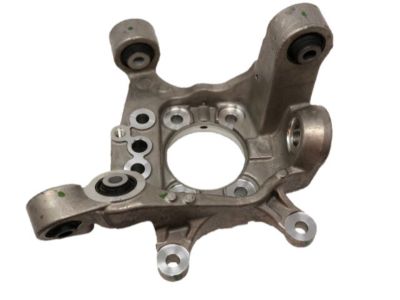
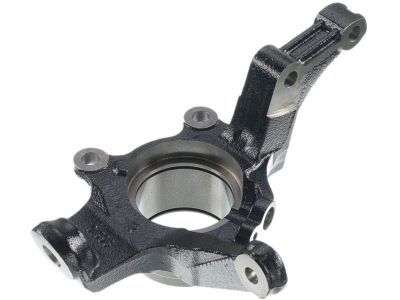
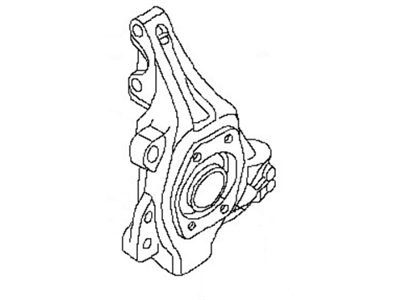
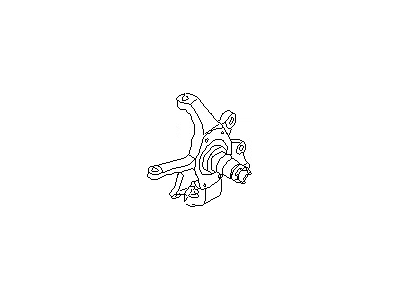
Nissan Altima Spindle-KNUCKLE,LH
Part Number: 40015-JA00A$481.55 MSRP: $680.15You Save: $198.60 (30%)Ships in 1-3 Business Days
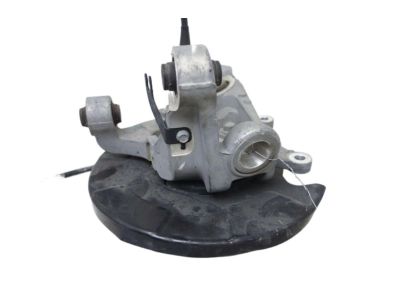
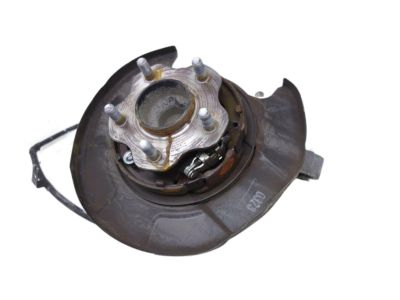
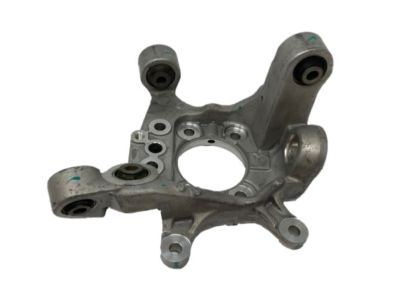
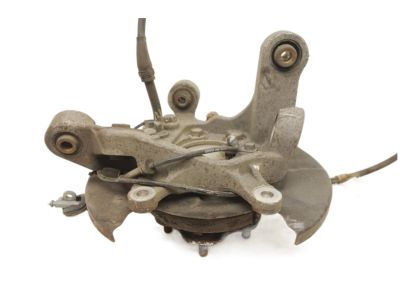
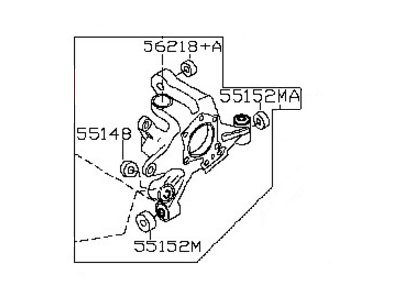
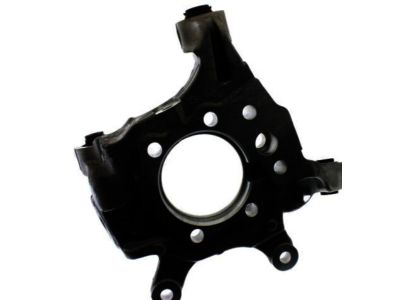
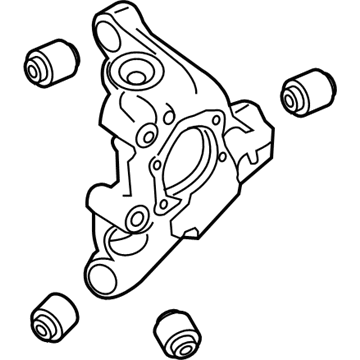
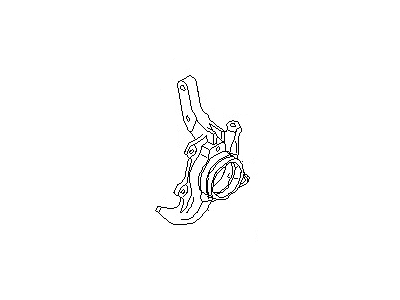
Nissan Altima Housing Assembly Rear Axle, RH
Part Number: 43018-ZX00B$221.04 MSRP: $312.20You Save: $91.16 (30%)Ships in 1-3 Business Days
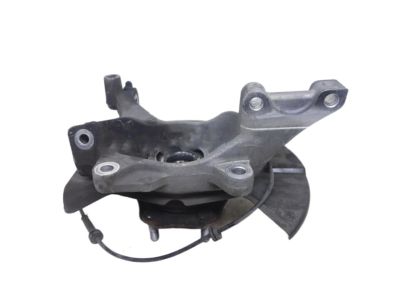
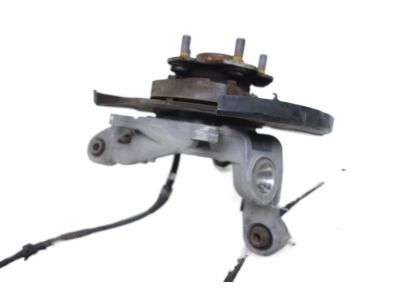
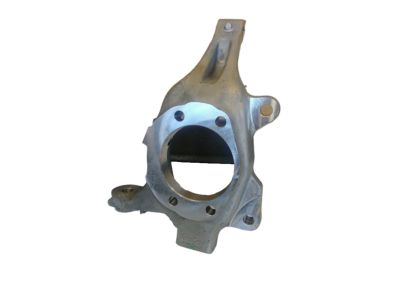
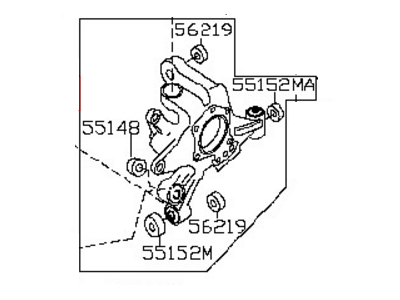
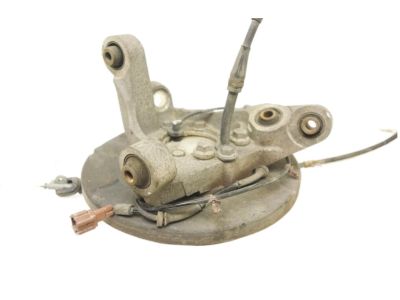
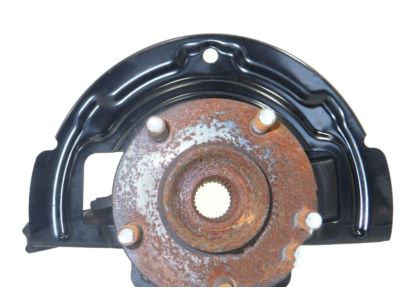
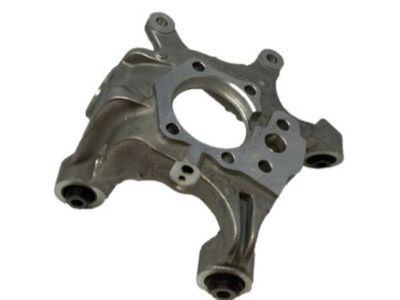
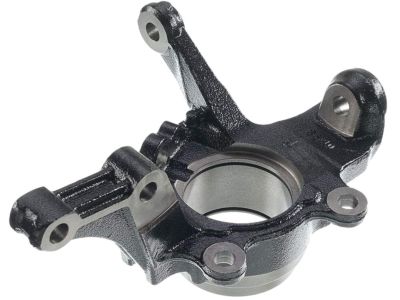
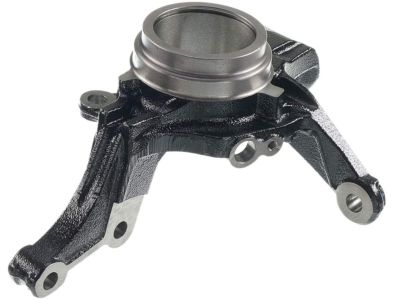
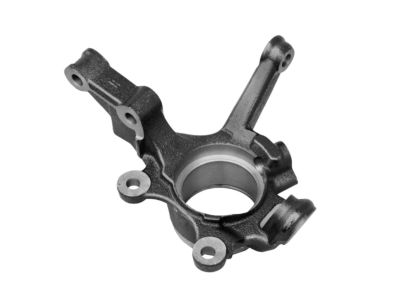
Nissan Altima Spindle-KNUCKLE,RH
Part Number: 40014-JA00A$472.54 MSRP: $667.43You Save: $194.89 (30%)Ships in 1-3 Business Days
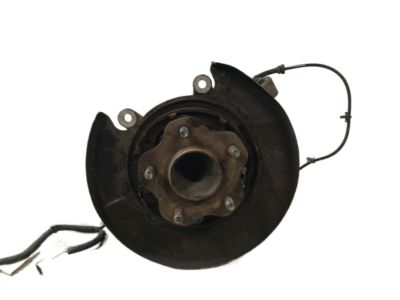
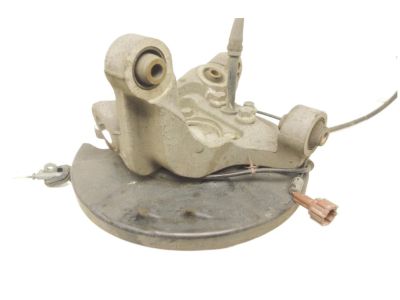
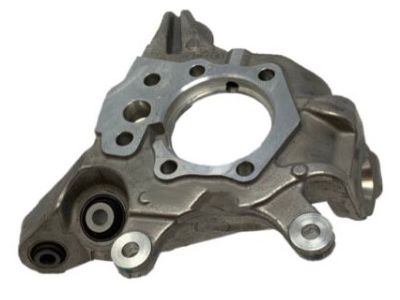
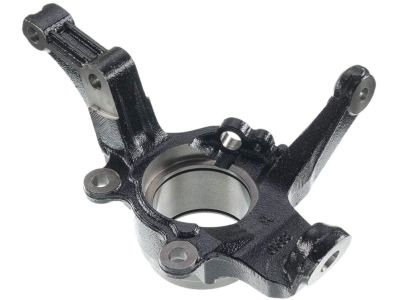
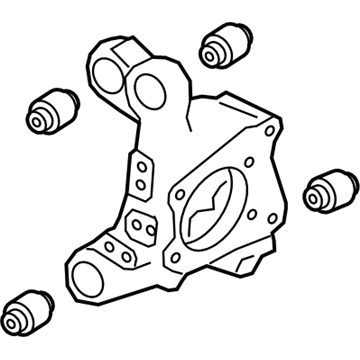
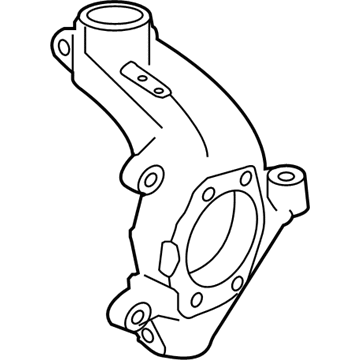
Nissan Altima Housing Assembly Rear Axle, LH
Part Number: 43019-ZX00B$226.51 MSRP: $319.93You Save: $93.42 (30%)Ships in 1-3 Business Days
Nissan Altima Housing-Rear Axle,RH
Part Number: 43018-8J000$280.82 MSRP: $396.63You Save: $115.81 (30%)Ships in 1-3 Business Days
Nissan Altima Housing-Rear Axle,LH
Part Number: 43019-8J000$280.82 MSRP: $396.63You Save: $115.81 (30%)Ships in 1-3 Business Days
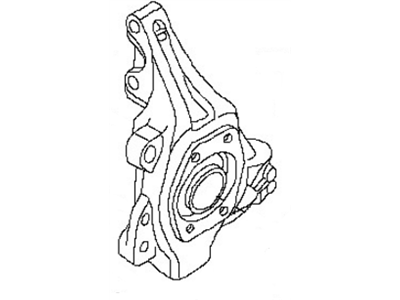
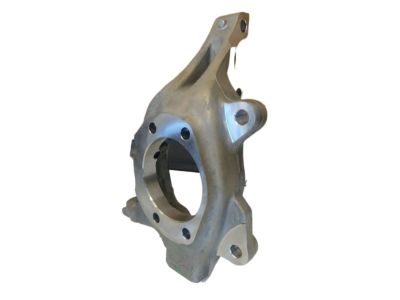
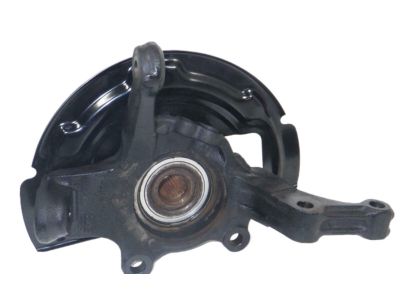
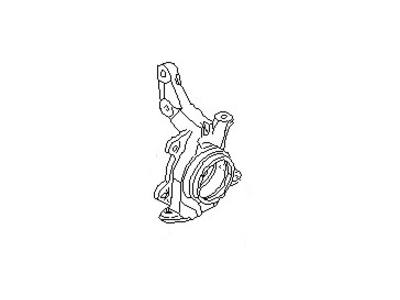
Nissan Altima Spindle-KNUCKLE,LH
Part Number: 40015-8J000$344.94 MSRP: $547.87You Save: $202.93 (38%)Ships in 1-2 Business Days
Nissan Altima Housing Assy-Rear Axle,RH
Part Number: 43018-JA000$252.24 MSRP: $356.27You Save: $104.03 (30%)Ships in 1-3 Business Days
Nissan Altima Housing Assy-Rear Axle,LH
Part Number: 43019-JA000$303.93 MSRP: $429.28You Save: $125.35 (30%)Ships in 1-3 Business Days
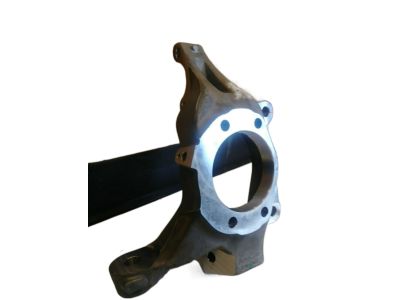
Nissan Altima Spindle-KNUCKLE,RH
Part Number: 40014-8J000$344.94 MSRP: $547.87You Save: $202.93 (38%)Ships in 1-2 Business DaysNissan Altima Housing Assembly-Rear Axle, RH
Part Number: 43018-6CC1A$248.28 MSRP: $350.68You Save: $102.40 (30%)Ships in 1-3 Business DaysNissan Altima Housing Assy-Rear Axle,RH
Part Number: 43018-6CA1A$248.45 MSRP: $350.92You Save: $102.47 (30%)Ships in 1-3 Business DaysNissan Altima Spindle KNUCKLE
Part Number: 40014-JA00B$472.54 MSRP: $667.43You Save: $194.89 (30%)Ships in 1 Business DayNissan Altima Housing Assy-Rear Axle,RH
Part Number: 43018-6CG1A$248.28 MSRP: $350.68You Save: $102.40 (30%)Ships in 1-3 Business DaysNissan Altima Housing Assy-Rear Axle,LH
Part Number: 43019-6CA1A$248.28 MSRP: $350.68You Save: $102.40 (30%)Ships in 1-3 Business DaysNissan Altima Spindle-KNUCKLE,RH
Part Number: 40014-0E010$322.97 MSRP: $497.64Limited AvailabilityYou Save: $174.67 (36%)Nissan Altima Housing Assy-Rear Axle,LH
Part Number: 43019-9HS0A$246.04 MSRP: $347.52You Save: $101.48 (30%)Ships in 1-3 Business DaysNissan Altima Knuckle Spindle-LH
Part Number: 40015-6CA1A$403.39 MSRP: $569.77You Save: $166.38 (30%)Ships in 1-3 Business DaysNissan Altima Spindle - KNUCKLE, LH
Part Number: 40015-6CA0A$403.39 MSRP: $569.77You Save: $166.38 (30%)Ships in 1-3 Business Days
| Page 1 of 3 |Next >
1-20 of 59 Results
Nissan Altima Steering Knuckle
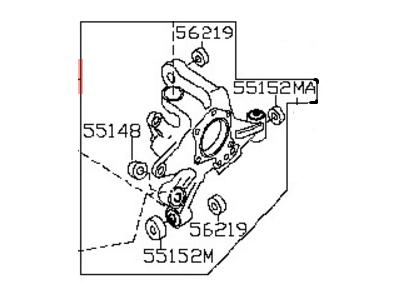
Nissan Altima Steering Knuckle is a part that defines the company's reliability expectations from the product and its performance. Connection between the suspension and the steering system, Steering Knuckle is responsible for both up and down as well as lateral movement of the wheels, consequently enabling a comfortable and free flowing drive, be it on a bumpy or a twisty surface. This component is designed to fit many models of Nissan Altima car whether you have RWD or FWD/AWD/4WD type of car. Explaining the progression of the Nissan Altima Steering Knuckle from kingpins to ball joints designed, Nissan continually demonstrates commitment to innovation and safer vehicles since such improvements reduce consumers' frequency of replacement and improve efficiency of their automobiles. The Steering Knuckle has a strong and stiff design with strong fastening points for control arms, tie-rod ends as well as the wheel hub hence promoting proper wheel rotation that facilitate good handling. However, it is important to identify the Nissan Altima Steering Knuckle because after performance analyzing of car in various driving conditions, it assure the comfortableness as well as control of the car. Achieving its deserved status for durability and the modularity for improving safety measures the Nissan Altima Steering Knuckle is a component feature that can again put on the Altima its position as a unshakeable and flexible selection for consumers interested in obtaining a standard mid-sized car.
If you need any OEM Nissan Altima Steering Knuckle, feel free to choose them out of our huge selection of genuine Nissan Altima Steering Knuckle. All our parts are offered at unbeatable prices and are supported by the manufacturer's warranty. In addition, we offer quick shipping to have your parts delivered to your door step in a matter of days.
Nissan Altima Steering Knuckle Parts Questions & Experts Answers
- Q: How do you remove and install the components of the driveaxle and steering knuckle on Nissan Altima?A:To remove the components mentioned above, first, you need to pull a cotter pin and then turn the drive axle/hub nut. Then, unscrew the wheel lug nuts, lift the car, and place it on jack stands before detaching the wheel. Next to remove the brake disc; then to detachment of the wheel speed sensor of the knuckle. Then un-bolt the driveaxle/hub nut and pull-off the tie-rod end from the steering knuckle. Removing the strut to the steering knuckle nuts a little but leaving the bolts intact, then wobble the control arm ball joint from the steering knuckle. Remove the nut and the bolt attaching the driveaxle to the steering knuckle Strictly hold the end of the driveaxle with wire to avoid the overextension of the CV joints. To disassemble the knuckle from the strut, you will have to remove strut-to-knuckle bolts, after that take off the hub-to-steering knuckle bolts to disengage the two and finally, remove the brake disc splash shield. For installation, tighten the bolts fixing the hub, knuckle as well as the splash shield to the torque limit. Coat the splines of the driveaxle with the multi-purpose grease, locate the knuckle and hub and just fix the driveaxle in the hub. Press the knuckle into the strut flange and put the bolt and nuts in place but do not fasten it at the moment. Configure the control arm balljoint to the steering knuckle and fasten the tie-rod end to the steering knuckle arm using the new nut by torquing it according to the standard value and also torque the strut-to-knuckle nuts and fit a new cotter pin to the tie-rod end ballstud. Last, keep the brake disc in the hub and fasten the caliper to it and at last fix the drive axel with the nut and tighten it up to the required torque. Thread the wheel and lug nuts, and lower the car to the ground and finally hot the lug nuts to the right torque.
Related Nissan Altima Parts
Browse by Year
2024 Steering Knuckle 2023 Steering Knuckle 2022 Steering Knuckle 2021 Steering Knuckle 2020 Steering Knuckle 2019 Steering Knuckle 2018 Steering Knuckle 2017 Steering Knuckle 2016 Steering Knuckle 2015 Steering Knuckle 2014 Steering Knuckle 2013 Steering Knuckle 2012 Steering Knuckle 2011 Steering Knuckle 2010 Steering Knuckle 2009 Steering Knuckle 2008 Steering Knuckle 2007 Steering Knuckle 2006 Steering Knuckle 2005 Steering Knuckle 2004 Steering Knuckle 2003 Steering Knuckle 2002 Steering Knuckle 2001 Steering Knuckle 2000 Steering Knuckle 1999 Steering Knuckle 1998 Steering Knuckle 1997 Steering Knuckle 1996 Steering Knuckle 1995 Steering Knuckle 1994 Steering Knuckle 1993 Steering Knuckle
