×
- Hello
- Login or Register
- Quick Links
- Live Chat
- Track Order
- Parts Availability
- RMA
- Help Center
- Contact Us
- Shop for
- Nissan Parts
- Nissan Accessories

My Garage
My Account
Cart
Genuine 1986 Nissan 300ZX Sway Bar Kit
Stabilizer Sway Bar Set- Select Vehicle by Model
- Select Vehicle by VIN
Select Vehicle by Model
orMake
Model
Year
Select Vehicle by VIN
For the most accurate results, select vehicle by your VIN (Vehicle Identification Number).
5 Sway Bar Kits found
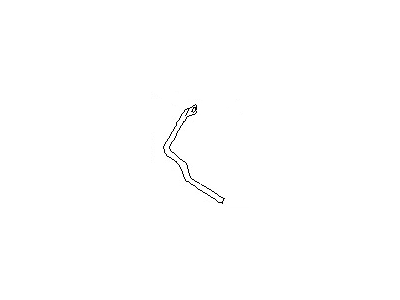
 Product Specifications
- Other Name: Stabilizer-Front; Stabilizer Bar
- Lookup Code: 54611
- Item Weight: 9.90 Pounds
- Item Dimensions: 39.3 x 10.0 x 2.3 inches
- Condition: New
- Fitment Type: Direct Replacement
- SKU: 54611-22P01
- Warranty: This genuine part is guaranteed by Nissan's factory warranty.
- Product Specifications
- Other Name: Stabilizer-Front; Stabilizer Bar
- Lookup Code: 54611
- Item Weight: 8.30 Pounds
- Item Dimensions: 39.7 x 10.0 x 2.9 inches
- Condition: New
- Fitment Type: Direct Replacement
- SKU: 54611-21P01
- Warranty: This genuine part is guaranteed by Nissan's factory warranty.
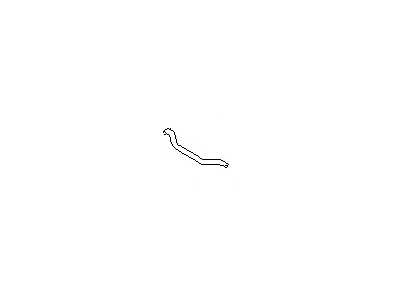
 Product Specifications
- Other Name: Stabilizer-Rear; Stabilizer Bar
- Position: Rear
- Replaces: 56230-01P00
- Lookup Code: 56230
- Item Weight: 4.80 Pounds
- Item Dimensions: 41.0 x 16.9 x 2.1 inches
- Condition: New
- Fitment Type: Direct Replacement
- SKU: 56230-01P10
- Warranty: This genuine part is guaranteed by Nissan's factory warranty.
- Product Specifications
- Other Name: Stabilizer-Front; Stabilizer Bar
- Lookup Code: 54611
- Item Weight: 8.00 Pounds
- Item Dimensions: 44.4 x 12.6 x 6.4 inches
- Condition: New
- Fitment Type: Direct Replacement
- SKU: 54611-01P10
- Warranty: This genuine part is guaranteed by Nissan's factory warranty.
- Product Specifications
- Other Name: Stabilizer-Front; Stabilizer Bar
- Manufacturer Note: 50TH
- Lookup Code: 54611
- Item Weight: 9.00 Pounds
- Item Dimensions: 43.5 x 9.5 x 2.0 inches
- Condition: New
- Fitment Type: Direct Replacement
- SKU: 54611-01P00
- Warranty: This genuine part is guaranteed by Nissan's factory warranty.
1986 Nissan 300ZX Sway Bar Kit
Committed to delivering top-notch quality at affordable prices, our website is your go-to source for OEM 1986 Nissan 300ZX Sway Bar Kit worldwide. Each of our genuine 1986 Nissan 300ZX Sway Bar Kit come with a manufacturer's warranty, so rest assured, quality and cost are covered. With us, you're making a smart choice that stands the test of time.
1986 Nissan 300ZX Sway Bar Kit Parts Questions & Experts Answers
- Q:How to properly remove and install a Sway Bar Kit on the 1986 Nissan 300ZX?Posted by Byron L.A:Raise the front of the vehicle and support it securely on jackstands, then remove the splash shield. Disconnect the lower nut at the end of the Sway Bar Kit, detach the bar from the transverse link while noting the sequence of the bushings removed, and disconnect the bolts to remove the Sway Bar Kit support brackets from the body. Next, remove the Sway Bar Kit links from the transverse links, taking care to keep the bushings, washers, and spacers in their installed order before detaching the Sway Bar Kit links from the Sway Bar Kit. Remove the bolts and nuts securing the Sway Bar Kit support brackets to the body and lift out the Sway Bar Kit. If the Sway Bar Kit bushings require replacement, spread them apart and slide them off the bar. Inspect the Sway Bar Kit link bolts and bushings for any cracks or damage, replacing them as necessary. Fit the Sway Bar Kit support brackets onto the Sway Bar Kit, ensuring the bracket marked with an L is positioned on the left side. Raise the Sway Bar Kit into position and loosely install both nuts and mounting bolts, then install the links through the transverse link and Sway Bar Kit. Finally, install the Sway Bar Kit link nuts and torque them to the specified value, lower the car to the ground to place the full weight on the wheels, and tighten the Sway Bar Kit mounting bolts and nuts to the specified torque.Answered by Nissan Parts Specialist Brian / Feb 13, 2026
Related 1986 Nissan 300ZX Parts
 1986 Nissan 300ZX Sway Bar Bushing
 1986 Nissan 300ZX Steering Wheel
 1986 Nissan 300ZX Sway Bar Bracket
 1986 Nissan 300ZX Sway Bar Link
 1986 Nissan 300ZX Steering Column