×
- Hello
- Login or Register
- Quick Links
- Live Chat
- Track Order
- Parts Availability
- RMA
- Help Center
- Contact Us
- Shop for
- Nissan Parts
- Nissan Accessories

My Garage
My Account
Cart
Genuine 2000 Nissan Quest Crankshaft Seal
- Select Vehicle by Model
- Select Vehicle by VIN
Select Vehicle by Model
orMake
Model
Year
Select Vehicle by VIN
For the most accurate results, select vehicle by your VIN (Vehicle Identification Number).
3 Crankshaft Seals found
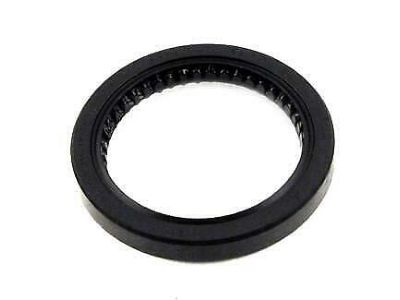
2000 Nissan Quest Oil Crankshaft Front Seal
Part Number: 13510-10Y10$12.71 MSRP: $17.52You Save: $4.81 (28%)Ships in 1-2 Business DaysProduct Specifications- Other Name: Seal - Oil, Crankshaft Front
- Position: Front
- Replaced by: 13510-10Y12
- Lookup Code: 12279N
- Item Weight: 0.10 Pounds
- Item Dimensions: 2.1 x 2.1 x 0.3 inches
- Condition: New
- Fitment Type: Direct Replacement
- SKU: 13510-10Y10
- Warranty: This genuine part is guaranteed by Nissan's factory warranty.
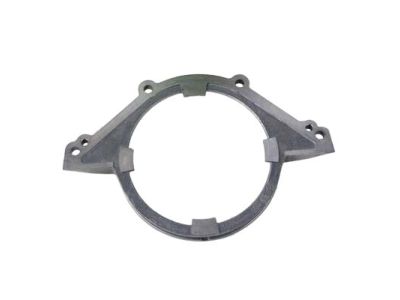
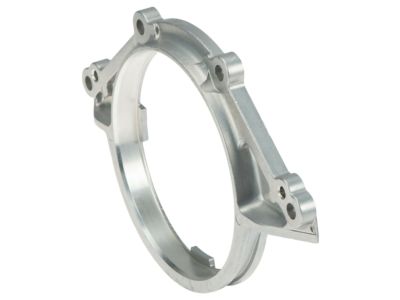
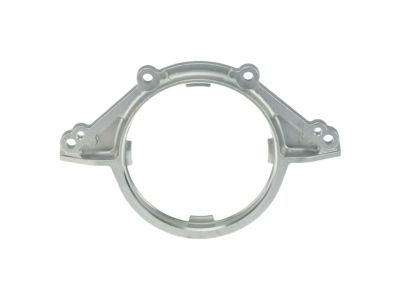
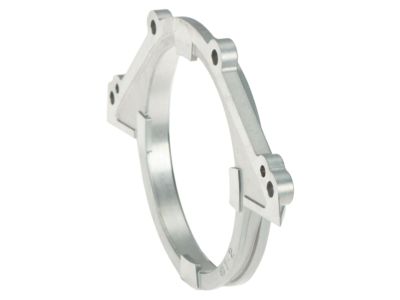
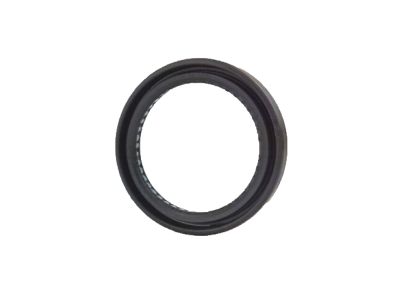
2000 Nissan Quest Rear Main Seal
Part Number: 12297-F6500$47.97 MSRP: $66.13You Save: $18.16 (28%)Ships in 1-2 Business DaysProduct Specifications- Other Name: Retainer - Oil Seal, Rear; Rear Main Seal, Rear Main Seal Retainer
- Replaces: 12297-V5000, 12296-V5000
- Lookup Code: 12296
- Item Weight: 0.50 Pounds
- Item Dimensions: 1.3 x 5.7 x 7.8 inches
- Condition: New
- Fitment Type: Direct Replacement
- SKU: 12297-F6500
- Warranty: This genuine part is guaranteed by Nissan's factory warranty.
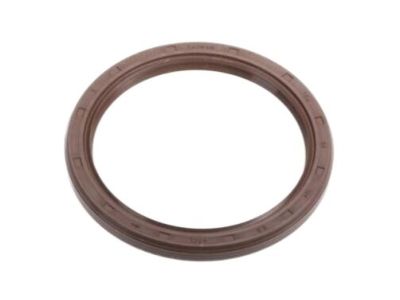
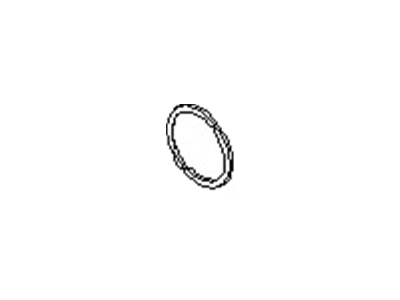
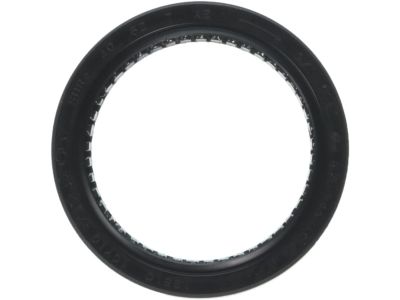
2000 Nissan Quest Oil Crankshaft Rear Seal
Part Number: 12279-18V00$35.05 MSRP: $50.77You Save: $15.72 (31%)Ships in 1-2 Business DaysProduct Specifications- Other Name: Seal - Oil, Crankshaft Rear
- Position: Rear
- Replaced by: 12279-AD205
- Lookup Code: 12279
- Item Weight: 0.20 Pounds
- Item Dimensions: 4.3 x 4.2 x 0.4 inches
- Condition: New
- Fitment Type: Direct Replacement
- SKU: 12279-18V00
- Warranty: This genuine part is guaranteed by Nissan's factory warranty.
2000 Nissan Quest Crankshaft Seal
Committed to delivering top-notch quality at affordable prices, our website is your go-to source for OEM 2000 Nissan Quest Crankshaft Seal worldwide. Each of our genuine 2000 Nissan Quest Crankshaft Seal come with a manufacturer's warranty, so rest assured, quality and cost are covered. With us, you're making a smart choice that stands the test of time.
2000 Nissan Quest Crankshaft Seal Parts Questions & Experts Answers
- Q:How to replace the front crankshaft seal on a 2000 Nissan Quest?Posted by Yosvel M.A:Disconnect the negative cable from the battery, raise the front of the vehicle, remove the right front wheel, and secure the vehicle on jackstands. Remove the drivebelts, then take off the inner splash shield from the right fenderwell. Use a strap wrench around the crankshaft pulley to hold it while using a breaker bar and socket to remove the crankshaft pulley center bolt; a chain-type wrench may be used if an old drivebelt is wrapped around the crankshaft pulley first. Wedge a prybar or two screwdrivers behind the crankshaft pulley and carefully pry it off; if it is difficult to remove, use a bolt-type puller. Remove the timing belt covers and timing belt, then carefully remove the crankshaft sprocket with a prybar or two screwdrivers, taking care not to damage the oil pump body. If the sprocket cannot be pried off, drill and tap two holes into the face of the sprocket and use a bolt-type puller to remove it, ensuring not to reuse a drilled sprocket. Remove the timing belt guide, noting the side facing out, and carefully pry the oil seal out with a screwdriver, avoiding any damage to the crankshaft. Before installation, apply a thin coat of multi-purpose grease to the inside of the seal. Fabricate a seal installation tool using a short length of pipe, a long bolt, and a large washer, then press the oil seal into position with the tool, ensuring not to damage the seal. Install the inner timing belt guide onto the nose of the crankshaft, ensuring the Woodruff key is in place, and apply a thin coat of assembly lube to the inside of the timing belt sprocket before sliding it onto the crankshaft. Installation of the remaining components follows the reverse order of removal, tightening all bolts to the specified torque.Answered by Nissan Parts Specialist Timothy / Aug 18, 2025
Related 2000 Nissan Quest Parts
 2000 Nissan Quest Camshaft Position Sensor
 2000 Nissan Quest Camshaft Seal
 2000 Nissan Quest Coolant Temperature Sensor
 2000 Nissan Quest Crankshaft
 2000 Nissan Quest Alternator Bracket